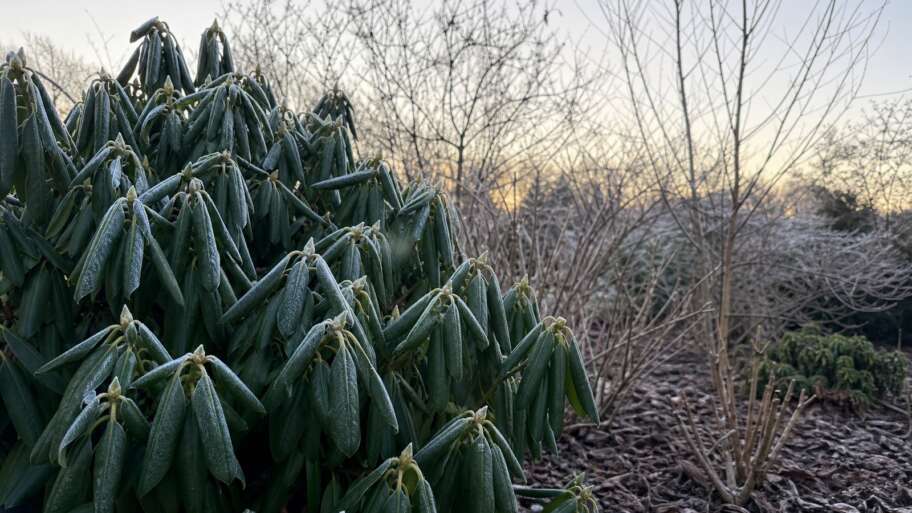

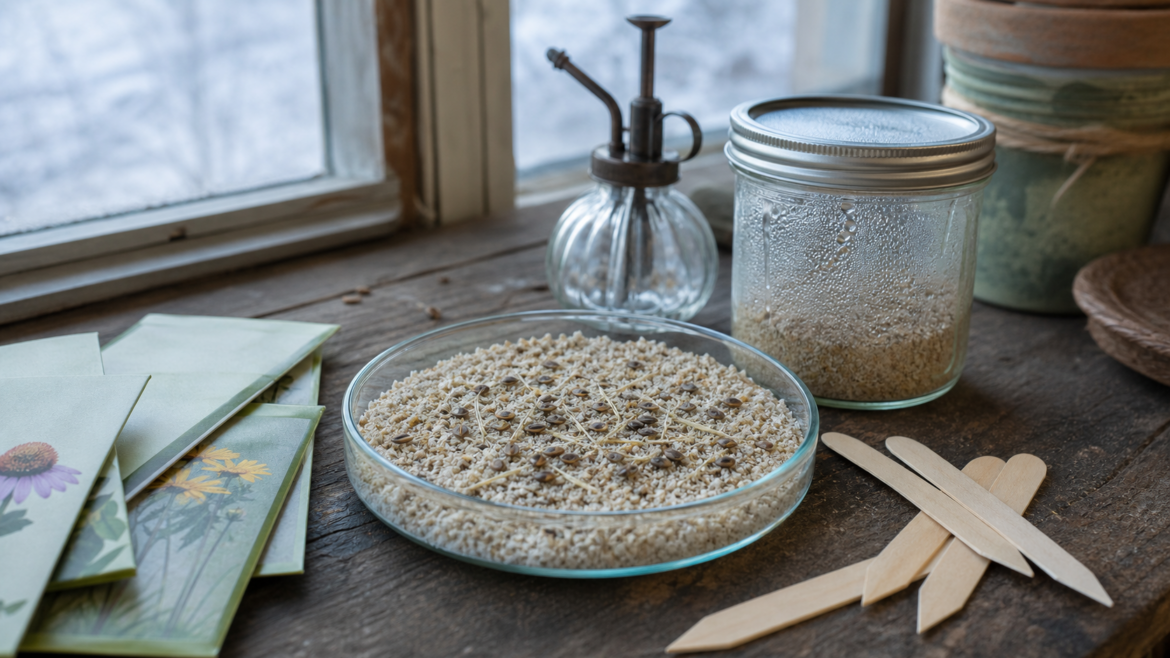
Some seeds are not waiting for a warmer windowsill. They are waiting for proof that winter has happened.
That is the quiet genius of cold stratification. In the wild, many temperate plants drop seed in late summer or autumn, then ask those seeds to endure weeks of cold, damp weather before they are allowed to germinate. It is a survival rule written into the seed: do not sprout during a mild November afternoon, because a tender root cannot argue with January.
For gardeners, cold stratification is less mysterious than it sounds. It is the practice of giving certain seeds a controlled period of moist chilling so they behave as though they have passed through winter. Rutgers Cooperative Extension describes this need especially in native plant propagation, where species-specific cold, moist conditions may be required before germination begins.1 Once you understand the principle, a refrigerator, a bag of vermiculite, and a pencil label become a small substitute for a season.
Why Some Seeds Refuse to Wake
A seed is not simply a sleeping baby plant. It is a weather instrument, a pantry, and a protective vault. Many seeds are ready to germinate as soon as they receive warmth and moisture. Others are held in dormancy by a water-resistant seed coat, an embryo that is not yet ready to grow, or internal physiological controls. Those barriers call for different treatments; chilling cannot substitute for scarifying a truly impermeable coat.2
In plant physiology, the dormancy-to-germination shift is often described through the balance between abscisic acid and gibberellins. Abscisic acid helps maintain dormancy, while gibberellins are associated with germination and embryo growth; temperature, light, and moisture all help influence that balance.3 Gardeners do not need to memorize the hormone pathway to use it well. The practical lesson is simpler: some seeds are listening for a sequence, not a single cue.
Cold stratification supplies one part of that sequence. It tells the seed that a long cold season has passed. When the seed later meets warmth, oxygen, and suitable moisture, germination becomes less of a gamble.
Cold, Moist, and Alive
For the cold-moist treatment discussed here, the key word is moist. Dry seed stored in a cold drawer is not equivalent to seed chilled after taking up water. In most garden use, the seed is placed in contact with a lightly damp medium such as sand, paper towel, peat, or vermiculite, then held at refrigerator temperatures. Illinois Extension gives a useful indoor range of 33 to 40 degrees F and notes that many seeds need roughly one to three months, depending on the species.4
The medium should feel like a wrung-out sponge, not soup. Seeds need moisture to begin internal change, but they also need oxygen. A sealed bag full of wet mush is less like winter soil and more like a mold nursery. Vermiculite is forgiving because it holds water without collapsing into paste, though a folded paper towel can work for small batches if you check it often.
Freezing is usually not the goal when you are using the refrigerator method. Outdoor seeds may experience freeze-thaw cycles naturally, but indoor stratification is usually about sustained cold, not turning the seed packet into an ice cube. The refrigerator offers steadiness, which is why it is useful for small quantities, rare seed, or species you want to track carefully.
The Refrigerator Method
Start by reading the seed packet or a reliable propagation guide for the species. The difference between 30 days and 90 days matters. Some seeds need only a cold-moist treatment. Others require a warm phase followed by a cold one, or scarification before chilling. When an impermeable coat is the barrier, carefully nicking or abrading it can admit water, but scarification can also injure the embryo; the USDA Forest Service recommends testing the gentlest method first.2
For a simple cold-stratification batch, mix the seed with a small amount of damp vermiculite or sand, then place it in a labeled bag or lidded container. Write the plant name, date started, expected sowing date, and source of the seed. This is not fussiness. In six weeks, one beige packet of mystery grit looks much like another.
Check the container every week or two. You are looking for three things: the medium still has a trace of moisture, there is no spreading mold, and no seeds have germinated early. If a few seeds sprout in the bag, pot them promptly and handle them by the seed leaves or the surrounding medium, not the fragile root. If the medium dries out, mist it lightly. If it is dripping wet, open the container briefly and correct the moisture before the seeds sour.
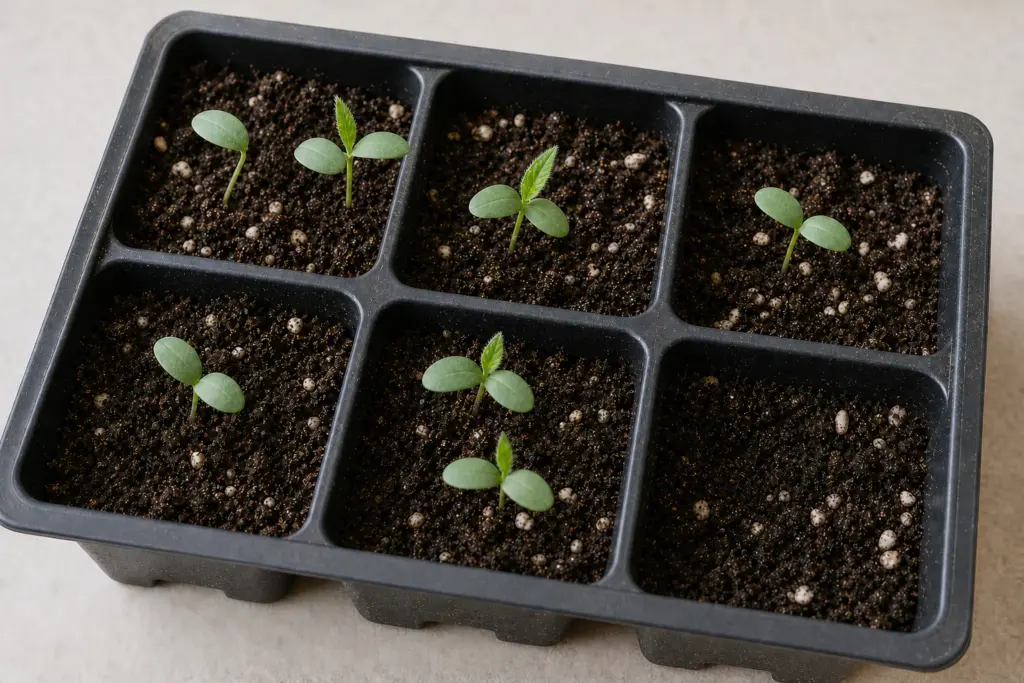
When the chilling period is complete, sow the seeds in a clean soilless mix or in a prepared outdoor bed if the season suits the plant. Rutgers recommends commercial soilless mixes for indoor germination and notes the old seed-starting rule that most seeds should not be covered deeper than about twice their diameter; seeds that need light can be surface sown and covered only with a thin dusting of vermiculite or sand.1
Which Seeds Are Worth the Trouble?
Cold stratification is useful only when a seed’s dormancy is relieved by a cold, moist interval—a pattern common, but far from universal, among temperate perennials and woody plants. Rutgers, for example, recommends 90 days at 40 degrees F for whorled coreopsis (Coreopsis verticillata), eastern purple coneflower (Echinacea purpurea), black-eyed Susan (Rudbeckia hirta), New York ironweed (Vernonia noveboracensis), and golden Alexanders (Zizia aurea). The same table gives no chilling treatment for cardinal flower or several other natives, a useful warning against treating “native” as a germination recipe.1
Vegetable gardeners meet this less often because many annual crops have been selected for quick, even germination. Tomatoes, basil, beans, squash, and marigolds are usually not asking for artificial winter. Give them warmth, moisture, and decent light after sprouting, and they are ready to get on with life.
The best habit is to treat each seed lot as its own small contract. If the packet says “cold moist stratification for 60 days,” follow that instruction. If it is silent, look up the botanical name in a regional extension or propagation guide, then check with the seed supplier before improvising. Close relatives can differ too. Our article on how white- and red-oak acorns keep different germination schedules shows the contrast within one genus.
Winter Sowing: Letting Weather Do the Work
There is another way to supply suitable seeds with natural cold: sow them outdoors for winter. Rutgers describes fall-sown containers exposed to winter precipitation and protected with hardware cloth if birds or squirrels are a risk.1 A milk-jug version adds a little shelter. Illinois Extension’s method calls for bottom drainage holes, the cap off, three inches of potting soil, and a site where fluctuating temperatures, rain, and snow can reach the container while animals cannot.5 The start date still depends on the species’ required chilling time and the local winter.
The beauty of winter sowing is that it is less sterile and less scheduled than refrigerator stratification. Seeds sit outside in damp potting mix, experiencing the local weather in miniature. When spring warmth arrives, they decide. The gardener’s job is to keep containers labeled, drained, and protected from being flipped by wind or investigated by hungry wildlife.
Winter sowing works especially well when you have many seeds and a bit of outdoor space. The refrigerator method is better when you have a small, precious packet, want close control, or need to start the cold period before outdoor weather has settled. Both methods are just different ways of answering the same biological question: has winter passed?
What Can Go Wrong
A common failure is too much water. A little condensation is fine. A bag that smells stale, looks slimy, or has seeds swimming in liquid is not fine. Use less medium than you think you need, squeeze excess water out before mixing, and remember that seeds are small living things, not rice being soaked for dinner.
Another failure is forgetting that stratification changes the clock. Illinois Extension advises keeping treated seed chilled or moving it into suitable growing conditions rather than leaving it in limbo.6 In practice, count backward from the desired sowing date. Do not start a 90-day cold period if you will be traveling when the seeds need potting.
A third mistake is expecting stratification to fix everything. Old seed may have poor viability, and seed collected too early may not be mature. Depending on the species, the missing cue may instead be light, scarification, alternating warm and cold phases, or no pretreatment at all. Match the method to the species and seed lot rather than assuming that more time in the refrigerator will solve every dormancy problem.2
A Small Practice in Seasonal Thinking
Cold stratification is one of those gardening practices that makes a windowsill feel connected to a whole landscape. A bag in the refrigerator becomes a small winter prairie. A tray on the porch becomes a nursery disguised as weather. The gardener is not forcing life so much as arranging the clues life already understands.
There is also a useful humility in the process. Seeds do not all want the same thing. Some want warmth at once. Some want abrasion. Some want darkness. Some want a long cold drink before they will risk a root. Learning those differences turns seed starting from a generic chore into a conversation with the plant’s history.
Useful Cold-Stratification Supplies
- Hoffman horticultural vermiculite: a clean, moisture-holding medium for refrigerator stratification and for lightly covering surface-sown seeds.
- Burpee SuperSeed 36-cell seed starting tray: useful after the cold period, when sprouted or chilled seeds need individual cells and good drainage.
- Waterproof seedling labels with garden markers: simple insurance against mystery seedlings, especially when several species are chilling at once.
Final Thoughts
Cold stratification rewards the gardener who can plan ahead without fussing too much. Label the seed, dampen the medium, give it the right amount of cold, and then be ready when the seed decides the story has moved from winter to spring.
That readiness is the whole art. You are not merely starting plants early. You are learning to imitate a season in miniature, then stepping back at the right moment so the seed can do what it has been preparing to do all along.
References
- Rutgers NJAES: Native Plant Seed Propagation
- USDA Forest Service: Woody Plant Seed Manual, Chapter 1—Seed Biology
- Frontiers in Plant Science: Regulation of Seed Germination and Abiotic Stresses by Gibberellins and Abscisic Acid
- Illinois Extension: Seed stratification: What seeds require cold treatment
- Illinois Extension: How to try winter sowing
- Illinois Extension: Use Mother Nature to break seed dormancy