
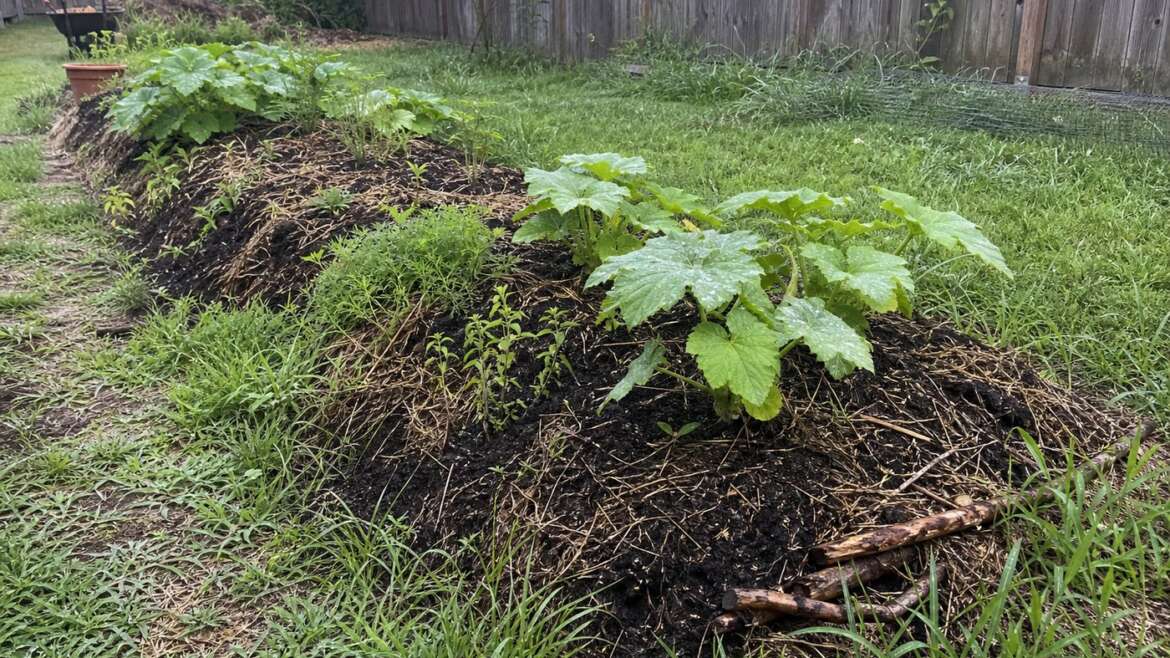
The most useful part of a hugelkultur bed begins after the dramatic construction day. The logs are buried, the mound is shaped, the first plants go in, and then the bed starts telling you what it actually is. It settles. It dries in odd patches. Mushrooms appear after rain. A shoulder slumps where branches left an air pocket. None of that means the idea failed. It means the buried wood is becoming soil in public.
That is also the point where the folklore around hugelkultur needs a little pruning. Washington State University Extension describes hugelkultur as a mound system built from woody material, garden debris, and soil, and frames it as a method with both advantages and drawbacks for home gardens.1 Oklahoma State University Extension notes that a well-built bed can conserve water when it is placed to catch runoff, but that condition matters: design, soil cover, and maintenance decide whether the mound behaves like a sponge or like a dry ridge.2
Think of the first year as a tuning year. You are not preserving a sculptural mound. You are helping a buried composting structure settle into a planted bed.
Read the surface first
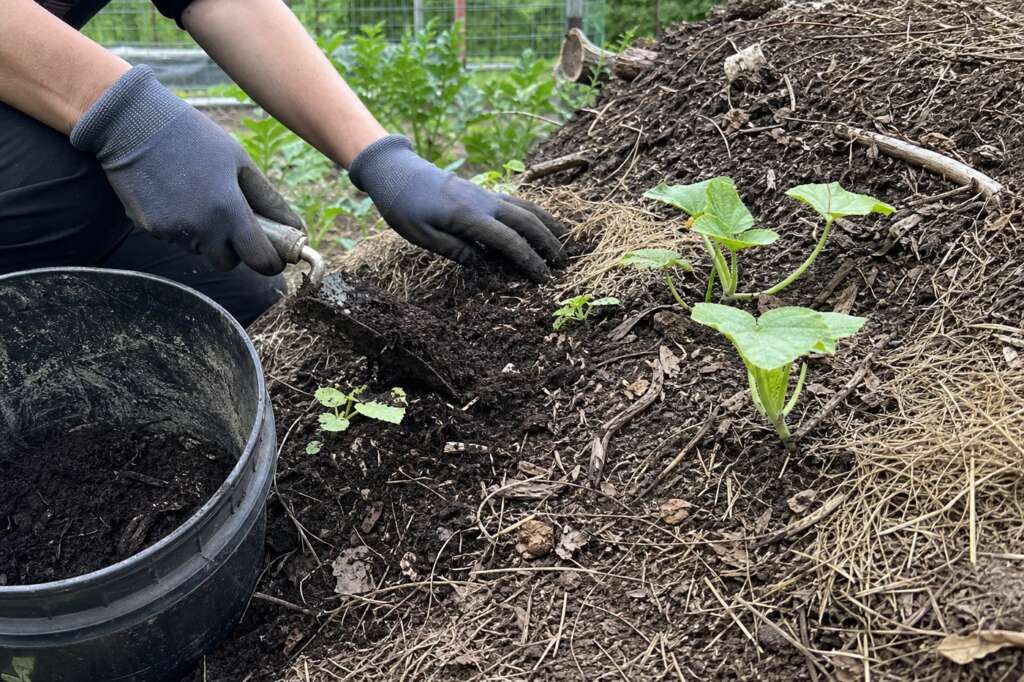
Small depressions usually mean soil has fallen into spaces between branches or logs. Fill those pockets with a compost-and-soil mix, then mulch over the repair. Do not just rake loose straw across a hollow and call it fixed; roots still need a continuous growing layer, not a thin disguise over an air gap.
Cracks suggest drying, fast settling, or both. A steep side that sheds water instead of absorbing it needs reshaping. Pull the shoulder outward, lower the angle, and create small ledges where mulch and rain can pause. Oregon State University Extension makes the same practical point about unframed raised beds: mounded beds are cheaper, but they are more prone to erosion and take up more space than framed beds.3 A lower, wider hugelkultur bed is usually less romantic, but it is easier to plant, water, weed, and keep covered.
If you see fungi, do not panic. Fungal activity is part of wood decomposition. A rotting log can become a nursery surface in a forest; the same slow handoff from wood to spongey organic matter is why nurse logs can turn fallen wood into a garden nursery. In a vegetable bed, the task is simply to keep that process covered with enough actual root-zone soil for the crops above it.
Feed the soil cap
The buried wood is a long-term reservoir, not a complete fertility plan. Most vegetable and annual flower roots are living in the top layer of soil and compost, especially in the first season. If plants are pale, weak, or slow while water seems adequate, do not assume the logs are feeding them. Top-dress with finished compost, add soil where the cap has thinned, and consider a soil test before guessing with heavy fertilizer. Oregon State’s raised-bed guidance specifically recommends extra nitrogen when non-composted organic material is used and a soil test when nutrient levels are uncertain.3
A practical rhythm is simple: after the first big settling, add enough compost and soil to restore planting depth; before each main planting season, refresh the surface again. Clemson Extension gives similar maintenance advice for hugelkultur beds, noting that compost or topsoil can be added as the larger wood breaks down and the mound loses height.4
Keep mulch useful, not smothering
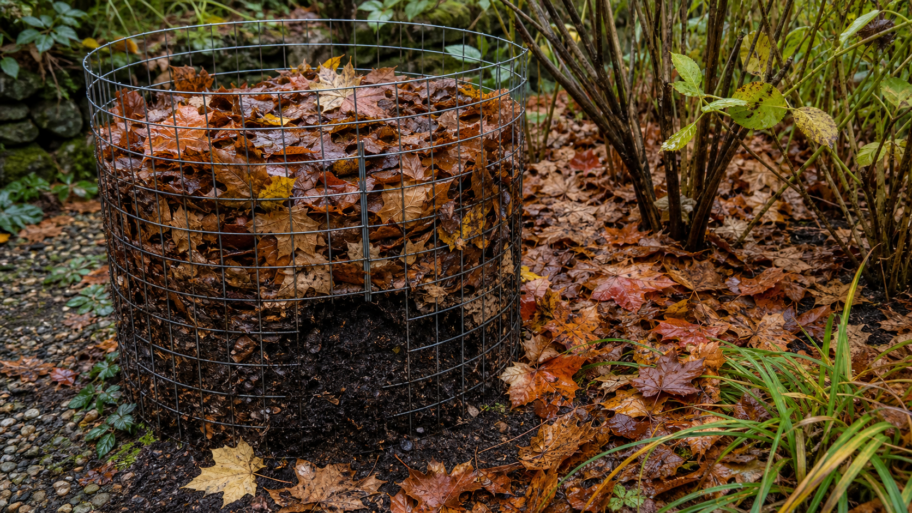
Mulch is what keeps the mound from acting like a bare embankment. Straw, shredded leaves, chopped plant residue, and partially finished leaf mold all help soften rainfall, slow evaporation, and reduce erosion. University of Minnesota Extension recommends applying mulch at a depth of 2 to 4 inches, keeping it clear of plant stems, and replenishing organic mulch as it decomposes.5
On a slope, loose mulch may slide. Tuck coarser stems, small twigs, or rough compost into the surface so finer mulch has something to catch on. If you are using straw in a vegetable bed, make sure it is weed-free. If you use grass clippings, apply them thinly so they do not mat into a wet, airless layer.
Plant by moisture zone
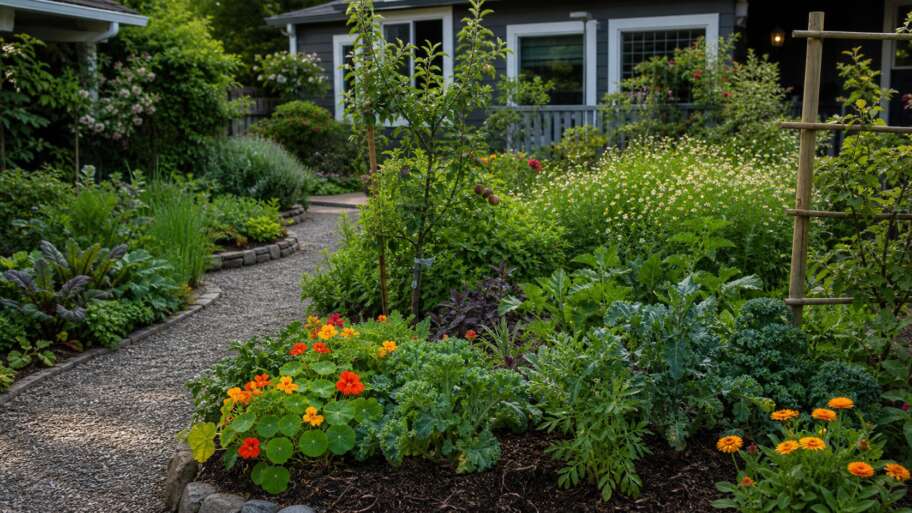
A hugelkultur mound is not one uniform bed. The crest is usually warmer, windier, and quicker to dry. The lower shoulder often holds moisture longer. The foot of the mound may be the richest, coolest, and easiest place for thirsty crops. Planting should follow those differences.
In the first year, use forgiving plants while the bed settles: beans, squash, calendula, nasturtiums, borage, sturdy herbs, and vigorous annual flowers. Save fussy seedlings and permanent plantings for areas where the soil depth and moisture pattern are already predictable. Drought-tolerant herbs can go higher; leafier crops and moisture-loving annuals usually belong lower. If you like that kind of small-scale climate design, the same idea shows up in herb spirals, which work like tiny climate machines.
Water like it is new
The common claim that hugelkultur beds need little water is only partly true. A mature, well-covered bed with decomposed wood inside can hold water well. A new mound with fresh wood, loose pockets, and a thin soil cap may dry faster than expected, especially on top. Water slowly and deeply, then check the soil below the mulch rather than judging by the surface color.
Placement matters too. A mound set along a contour can catch and slow runoff. One placed across a bad drainage path can send water where you do not want it. Keep hugelkultur away from foundations, septic areas, and places where concentrated runoff could undermine paths, fences, or neighboring property.
Be picky about what you bury
Use untreated logs, branches, leaves, plant residues, topsoil, and compost. Skip painted lumber, railroad ties, pressure-treated scraps, diseased plant material, and weeds that are heavy with viable seed. Clemson Extension specifically warns against using diseased trees or leaf matter because it can contaminate the growing space.4 Large logs last longer but settle for longer too; smaller branches break down sooner and create a gentler first-year bed.
Accept the edit
A good hugelkultur bed is not a monument to the day you built it. It is topped up, mulched, reshaped, replanted, and occasionally simplified. The goal is not maximum mound height. The goal is a living bed where wood becomes humus, water lingers without stagnating, and roots have enough real soil to do their work.
That is the quiet mastery of hugelkultur: not burying logs and walking away, but learning how the mound changes and answering it with compost, mulch, plant choice, and patience.
References
- Washington State University Extension: Hugelkultur: What is it, and should it be used in home gardens?
- Oklahoma State University Extension: Sustainable Landscapes: Creating a Hugelkultur for Gardening with Stormwater Management Benefits
- Oregon State University Extension: Raised bed gardening
- Clemson Cooperative Extension: Hugelkultur Gardening
- University of Minnesota Extension: Mulching for soil and garden health