
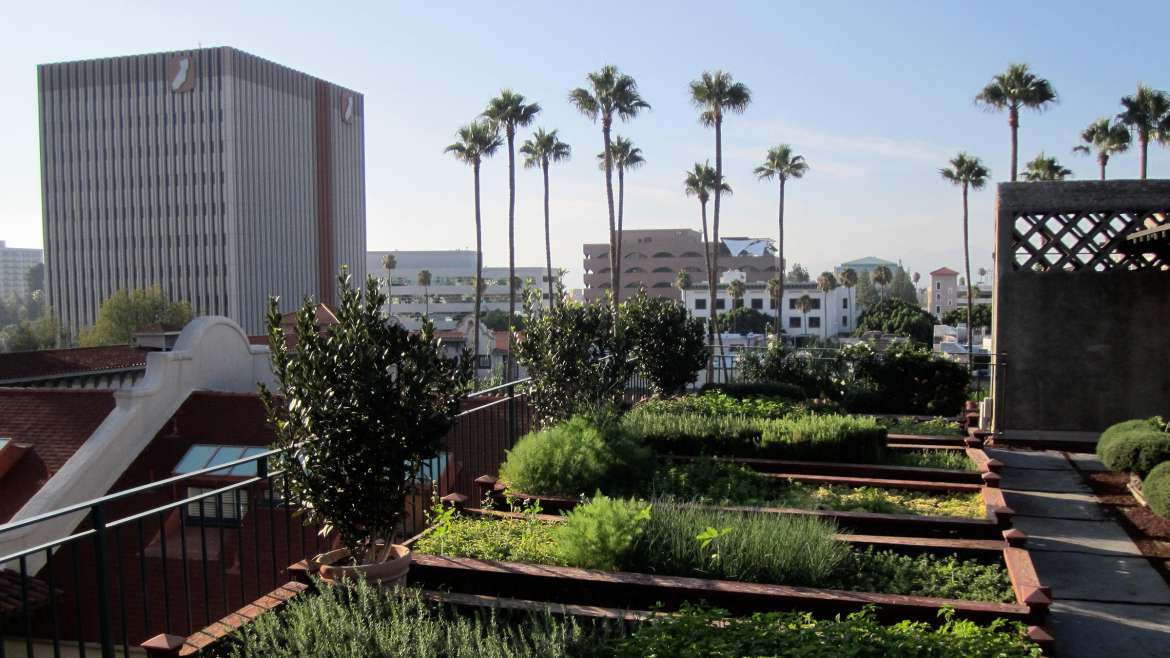
Rooftop gardens are seductive because they seem to create land out of air. A bare roof becomes herbs, grasses, tomatoes, sedums, shade, and a place to sit above the street. The transformation is real, but the roof is still a roof. Structure, wind, water, drainage, and access decide what kind of garden is possible.
A well-designed vegetated roof can slow stormwater runoff, cool the roof surface, and add habitat in a place where planting space is scarce.1 A terrace filled with pots may offer some of the same pleasures, but it is not automatically a green-roof system and should not be credited with the same performance. The useful first question is therefore not “Which plants?” but “What kind of roof garden can this building safely support?”
Name the kind of roof garden first
An engineered vegetated roof is part of the building envelope. Its assembly can include waterproofing, root protection, drainage and water-retention layers, filter fabric, engineered growing medium, and plants. The parts have to work together: keeping roots and tools away from the membrane, retaining useful moisture, and still moving excess rain toward the roof drainage system.2
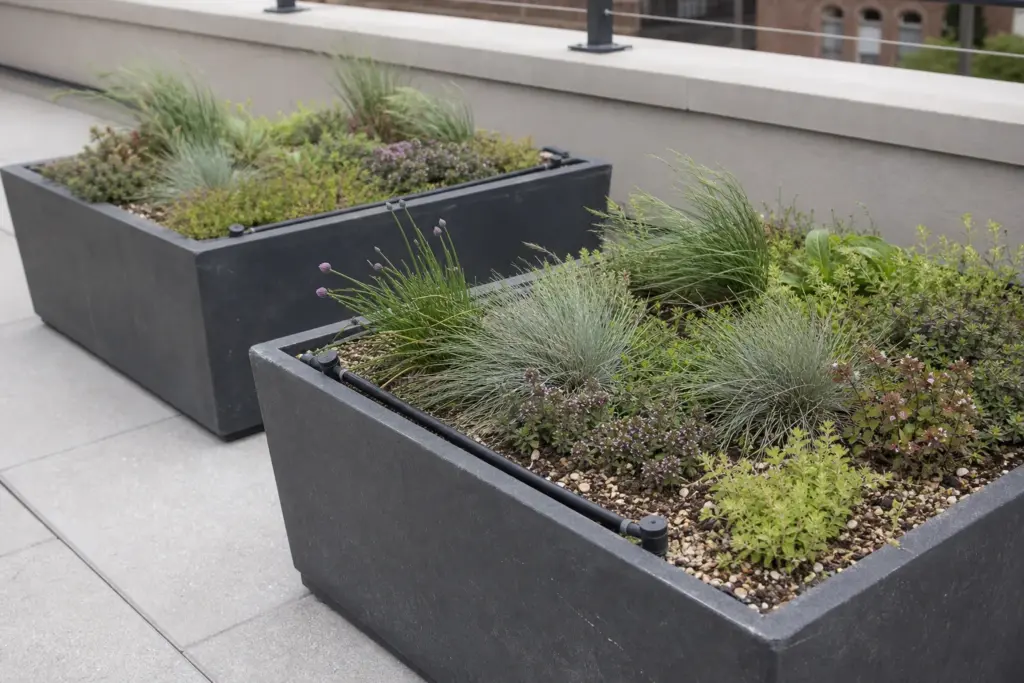
A rooftop container garden keeps plants in separate pots or planters on an approved roof terrace. It is easier to rearrange, but containers do not erase questions about load, membrane protection, wind, drainage, guardrails, or emergency access. Never spread ordinary soil across a roof, pierce the waterproofing, or assume that an unused flat surface is intended for people and planters.
Ask the owner or building manager which areas may be used and what professional assessment already exists. If the answer is vague, stop before buying materials. The companion guide to turning rooftop constraints into a container layout takes that approved starting point into planters, routes, and working space.
Treat weight as an engineering question
Plan from wet weight, not from the pot that felt light in the shop. The US Environmental Protection Agency specifically notes that a structure must support green-roof materials when they are fully saturated.3 Depending on the project, a professional assessment may also need to account for mature plants, people, furniture, paving, stored water, equipment, and snow. The correct limit and location depend on the actual building; a number borrowed from another roof is not evidence.
Distribution matters as well as total mass. Several deep planters pushed into one corner do not load a roof in the same way as a purpose-designed assembly spread over a larger area. A structural engineer can evaluate the proposed system and its placement. A roofing professional can specify compatible protection pads, clearances, and attachment details so that a planter does not abrade the membrane or conceal a developing leak.
Keep water routes and working routes open
Before drawing beds, mark the door, safe walking surfaces, roof drains, scuppers, overflow routes, service hatches, and equipment. These features need to remain visible and reachable. The Whole Building Design Guide recommends accessible inspection chambers at vegetated-roof outlets so roots, displaced growing medium, foliage, and other debris can be cleared.2 A handsome row of planters is badly placed if it hides the drain behind it.
Leave enough room to inspect, water, prune, and remove a failed plant without stepping over tubing or leaning beyond a protected edge. Guardrails, required exits, and access to building equipment are safety provisions, not design inconveniences. Their exact dimensions and use are governed by the building and local rules, so a generic garden diagram cannot settle them.
Wind changes both plants and hardware
Wind on a roof is more than a drying breeze. It can overturn a narrow pot, rub stems against hard edges, move loose mulch, and pull at screens, trellises, shade sails, or lightweight roof components. Vegetated-roof design must account for wind uplift and erosion rather than relying on the growing medium as informal ballast.2 Do not improvise anchors through the membrane or add heavy ballast without approval.
For an approved container terrace, broad stable planters, lower plant profiles, flexible stems, and secured irrigation lines are often more credible starting points than a tall sail or solid screen. Observe exposed corners and channels between walls through more than one kind of weather. Wind varies with roof height, geometry, neighboring buildings, and season, so plant labels alone cannot describe the site.
Make irrigation part of the design
Restricted root volume and exposed foliage can make rooftop containers dry quickly, especially in warm, windy weather. Illinois Extension advises checking container moisture regularly rather than watering by a fixed calendar, because container material, plant size, weather, and potting mix all affect demand.4 Drought-tolerant does not mean that a newly planted root ball can establish without water.
A nearby tap and a correctly installed drip line can reduce carrying, but a timer is not a substitute for looking. Confirm that emitters work, root balls are actually becoming moist, outlets remain open, and runoff follows an approved route rather than crossing a doorway or collecting against supports. Adjust watering as plants grow and weather changes; the goal is a moist root zone with free drainage, not permanently wet medium.
Match medium and plants to the roof
Engineered vegetated-roof medium is not garden topsoil. For freestanding pots, use a container mix that balances drainage, air space, and water retention; garden soil used by itself can drain poorly and lose the pore space roots need.5 “Lightweight” describes a material relative to another one—it does not certify a filled planter as safe for a particular roof.
Build the plant list from measured light, local temperature extremes, wind, growing depth, and water supply. Michigan State University Extension emphasizes that roof orientation, surrounding structures, vents, rainfall, and media depth create different microclimates even on the same roof.6 A sun-loving plant may still struggle beside a hot exhaust, while a shaded container may stay wet long after an exposed one has dried.
Sedums, compact herbs, low grasses, and tough perennials can be useful candidates, but none is universal. A locally native plant is not automatically adapted to a shallow windy container, and a drought-adapted species that survives by making a deep taproot is a poor match for a thin extensive roof.6 Fruiting vegetables generally ask for more root volume, water, feeding, and attention than a low succulent cover; grow them only where the approved system and maintenance plan can meet those needs.
Begin with one testable piece
Start smaller than the finished picture in your head. Put one approved group of containers through a spell of heat, a windy week, and a heavy rain. Record how quickly the mix dries, where leaves collect, whether water reaches the drain, and whether every planter can be reached without moving furniture. These observations turn an exposed roof from an abstraction into a specific garden climate.
Expansion should follow evidence, not impatience. Add plants only after the first area has a workable watering rhythm and a clear inspection route. The guide to routine rooftop irrigation and inspection explains how to keep those systems legible after the first season.
The green potential is real, but limits make it workable. Structure first, then waterproofing and drainage, then access, wind, water, and plants. In that order, a roof can become a garden without pretending to be ground level.
References
- US Environmental Protection Agency: Using Green Roofs to Reduce Heat Islands
- Whole Building Design Guide: Extensive Vegetative Roofs
- US Environmental Protection Agency: Soak Up the Rain—Green Roofs
- University of Illinois Extension: Six Tips for Watering Container Gardens
- University of Illinois Extension: Soil for Container Gardens
- Michigan State University Extension: Selecting Plants for Extensive Green Roofs in the United States