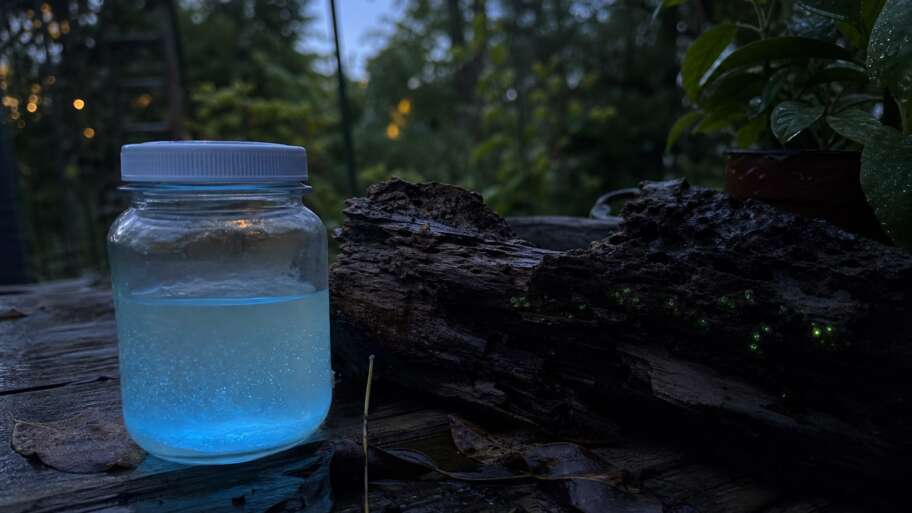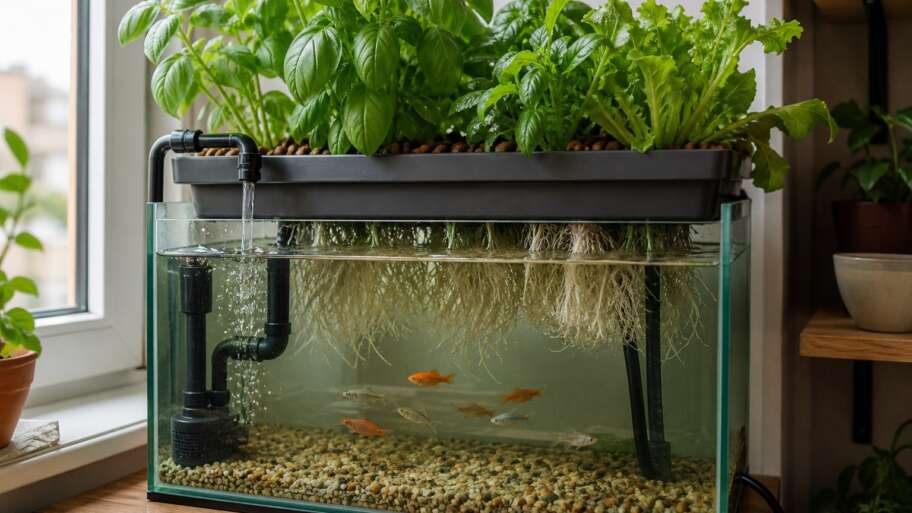

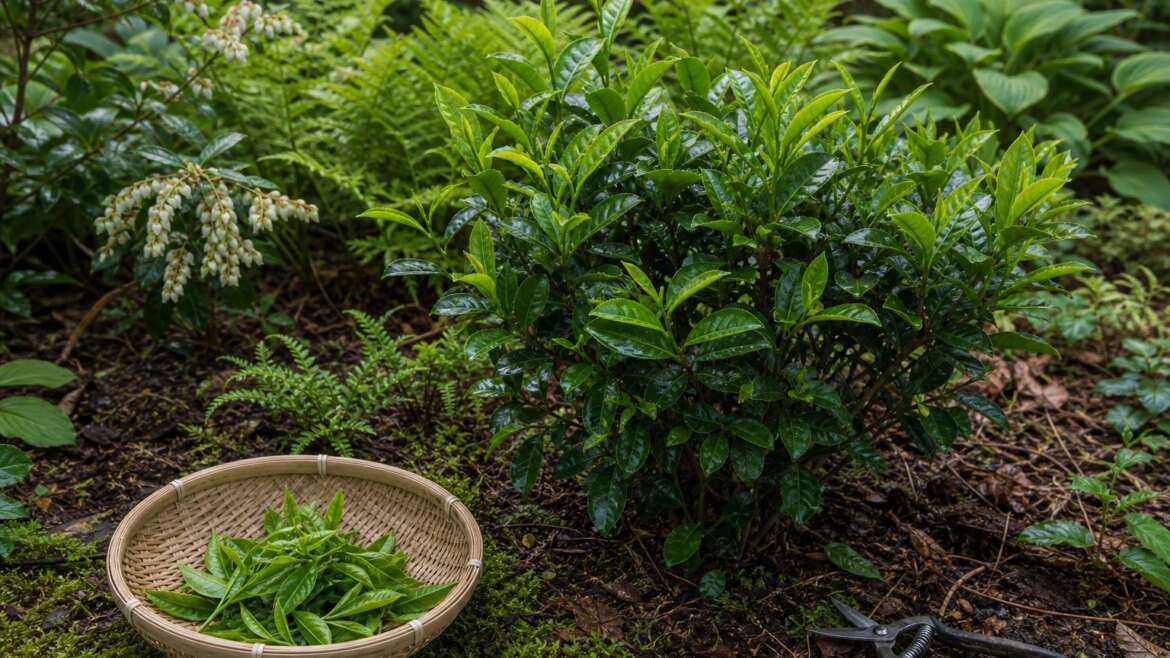
A tea garden can mean two different things. It can be a garden of herbs for infusions: mint, chamomile, lemon balm, anise hyssop, and lemon verbena. Or it can mean growing the actual tea plant, Camellia sinensis, whose leaves become green, black, white, and oolong tea. The two overlap in the cup, but not in the garden.
Camellia sinensis is a woody evergreen shrub, not a fast annual herb. The familiar tea styles come from differences in leaf material, cultivar, climate, oxidation, heat, rolling, and drying rather than from four unrelated garden plants.1 If you want both kinds of cup, the guide to building a homegrown tea garden from real plants explains how to keep the shrub and its herbal companions in conditions that suit each one.
Give the tea shrub a permanent address
Tea needs acidic soil, steady moisture, good drainage, and enough room for a shrub. NC State Extension lists full sun to partial shade, acidic soil below pH 6, moist but well-drained conditions, and an unpruned mature size of roughly 6 to 15 feet tall and 4 to 8 feet wide.1 A harvestable bush can be kept smaller, but its roots still need a long-term place.
Climate changes the plan. The smaller-leaved Chinese variety, C. sinensis var. sinensis, is generally more cold tolerant than var. assamica; even so, cultivar, wind, soil drainage, exposure, and the duration of cold matter as much as a hardiness-zone label. UF/IFAS notes that excessive wetness and flooding are poor fits, while intense heat and radiation can also slow growth.2 In a marginal climate, use a sheltered position or a container you can actually move rather than treating a pot as automatic winter protection.
Establish roots before asking for shoots
Plant at the same depth it grew in its nursery pot, loosen a circling root ball, water the root zone, and keep grass and string trimmers away from the stem. Mulch can steady soil moisture, but leave space around the trunk. Before adding sulfur, lime, or repeated fertilizer, test the soil through a local laboratory and interpret the result for your region. An acidic preference is not permission to acidify by guesswork.
During establishment, check moisture below the surface instead of watering by the calendar. A container can dry quickly in summer and remain cold and wet in winter; an in-ground shrub behaves differently. New shoots, not a rigid date, tell you when active growth has resumed. UF/IFAS recommends repeated heading to form a manageable 3- to 5-foot picking surface, but young or stressed plants should first be allowed to build leaf area and roots.2
Harvest the growing tip, not the whole branch
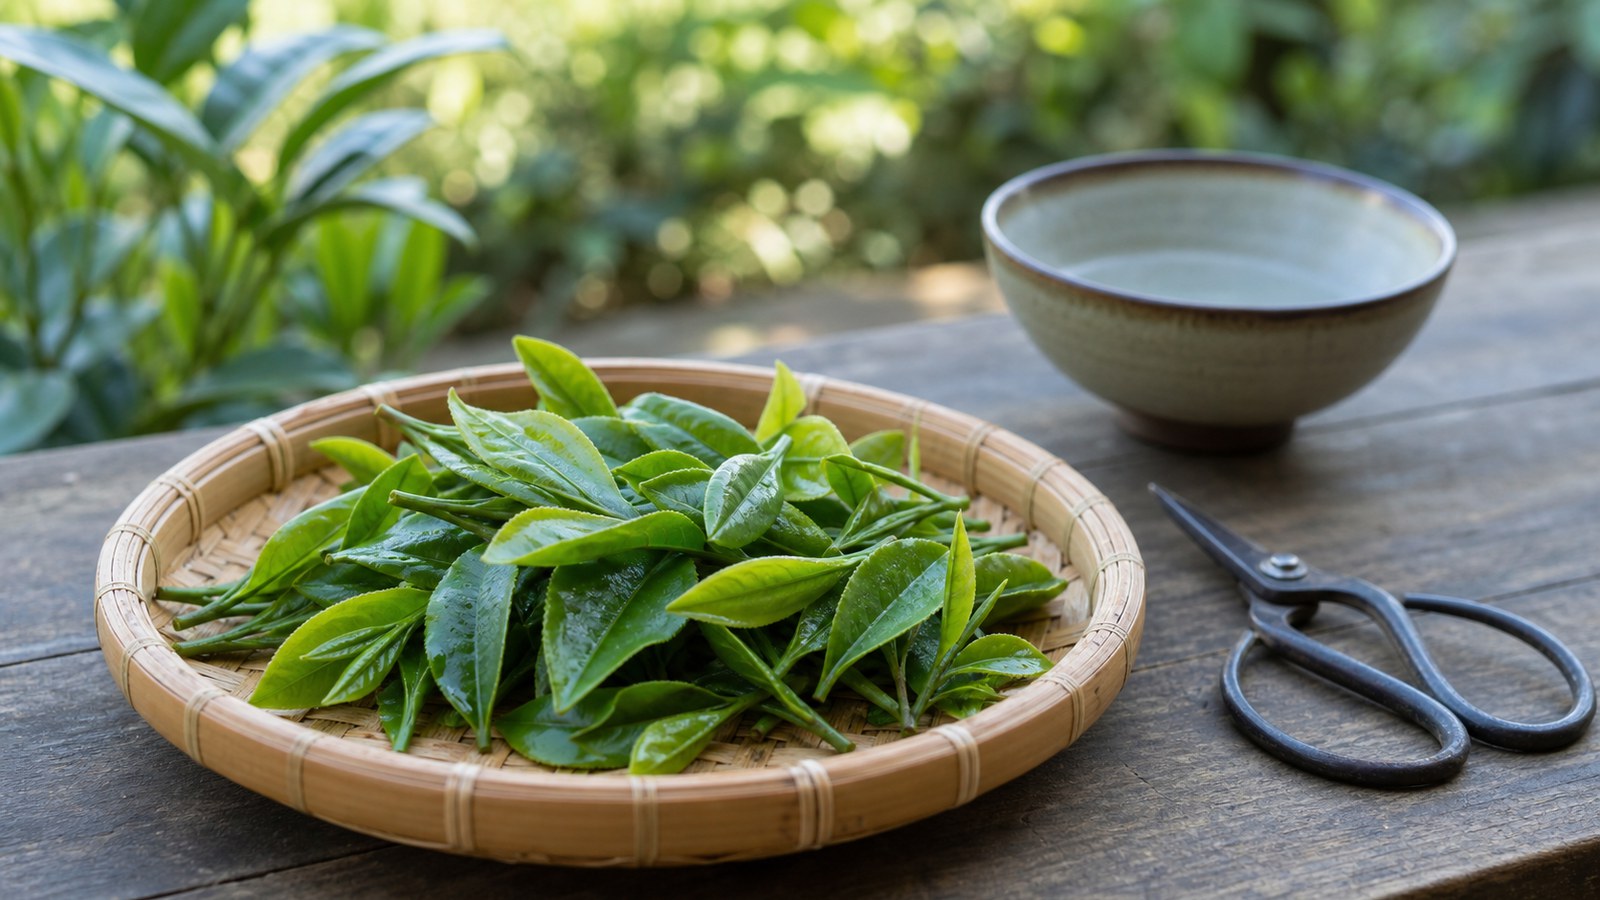
The useful unit is a tender shoot, often described as the terminal bud with the next two or three leaves.2 Choose sound new growth and work across the bush rather than stripping one branch. Leave plenty of mature foliage to run the plant. A small first batch teaches more than a basket that weakens a young shrub and then overwhelms the kitchen.
Harvest after surface moisture has dried when possible, with clean hands and clean snips. Keep shoots off the soil, remove damaged or diseased material, and record the cultivar, date, and part picked. The University of Hawai‘i home-processing guide likewise begins with young two-leaf shoots and treats harvest, withering, rolling, oxidation, and final drying as one continuous small-batch process.5
Processing makes the tea style
Washington State University separates five useful actions: withering to reduce moisture, bruising or rolling to disrupt cells, oxidation that changes color and aroma, heating to slow or stop oxidation, and final drying.4 Tea literature often calls oxidation “fermentation,” but WSU notes that the terms are used interchangeably in this context; oxidation is the clearer word for an ordinary home batch.
Green tea receives heat early so little oxidation occurs before rolling and drying. Black tea is withered, bruised or rolled, allowed to oxidize more fully, then dried. Oolong uses partial oxidation, stopped with heat at the maker’s chosen point. White tea usually relies on tender material, withering, and drying with relatively little handling. These are families of methods, not guarantees that a particular backyard batch will taste like a commercial tea.
Start with one published small-batch method and one style. Equipment power, room humidity, leaf thickness, and batch size all change timing, so copying a temperature without copying the rest of the method can scorch the surface while leaving stems damp. The Hawai‘i guide gives measured sequences for home-processed black and green tea and calls for the finished leaves to be cooled, dry, and packed airtight.5
Keep a small batch as food
Use clean trays, cloths, utensils, and hands. Keep harvested shoots away from compost, pet areas, road splash, and plants treated with a product not labeled for an edible crop. If a pesticide is needed on the shrub, the label determines whether that crop and use are allowed and specifies precautions and harvest restrictions.7 An attractive leaf is not evidence that a residue is acceptable.
Spread damp leaves rather than leaving them in a warm heap, follow the tested process through its final drying step, cool the batch before sealing it, and label the container. For the herbal companions, the National Center for Home Food Preservation warns that high-moisture leaves can mold if drying is slow and recommends airtight storage in a cool, dry, dark place once leaves are crisp-dry.6 Discard anything with visible mold, condensation, or a musty odor; do not try to rescue it by brewing harder.
Let herbal companions keep their own habits
Mint, chamomile, lemon balm, lavender, and anise hyssop can contribute leaves or flowers to infusions, but they are not miniature tea shrubs. Washington State University treats plant choice, site, design, harvest, and intended use as connected decisions in an herbal tea garden.3 Contain spreading mint, give lavender sharper drainage, and leave annual chamomile room to flower and reseed. Group them by water, light, mature size, and local winter behavior rather than by how their names look on a blend.
Use only correctly identified culinary species and the intended edible part. Keep each crop separate through drying and label it before the leaves become anonymous. Once those single-plant flavors are familiar, the guide to blending herbal tea from the garden offers a restrained way to combine them. A mixed jar should be the last step, not the identification method.
Keep caffeine and health claims honest
Every ordinary green, black, white, or oolong tea made from Camellia sinensis contains naturally occurring caffeine. A home batch is not decaffeinated because it came from the garden, and appearance cannot tell you the dose. FDA notes that caffeine content varies among teas and serving sizes, while sensitivity also varies with the person, medications, health conditions, pregnancy, and breastfeeding.8 Anyone who needs to limit caffeine should count homegrown tea among their sources and ask an appropriate clinician when needed.
Keep the reason for growing it culinary: flavor, craft, and the pleasure of knowing the shrub. Home cultivation does not demonstrate a treatment effect or make a health promise more reliable. NCCIH reports that firm conclusions have not been reached for most promoted uses of green tea and distinguishes the familiar beverage from concentrated extracts, which have different risks and medicine interactions.9
Let each batch teach the next one
Record the shoot stage, weather, fresh and dry weights, processing method, and flavor after brewing. Those notes reveal whether bitterness came from older leaves, plant stress, a heavy harvest, or a processing choice. They also keep a successful batch from becoming a lucky accident.
A productive tea garden is not a single harvest moment. It is a well-sited shrub, repeated light pickings, clean small batches, and enough patience to learn what the local climate puts into the leaf. Grow the plant first. The cup will follow.
References
- NC State Extension Plant Toolbox: Camellia sinensis
- UF/IFAS: Tea Growing in the Florida Home Landscape
- Washington State University Extension: Growing an Herbal Tea Garden
- Washington State University: Tea Types and Home Processing
- University of Hawai‘i CTAHR: Home-Processing Black and Green Tea
- National Center for Home Food Preservation: Drying Herbs
- US Environmental Protection Agency: Introduction to Pesticide Labels
- US Food and Drug Administration: How Much Caffeine Is Too Much?
- NCCIH: Green Tea—Usefulness and Safety