
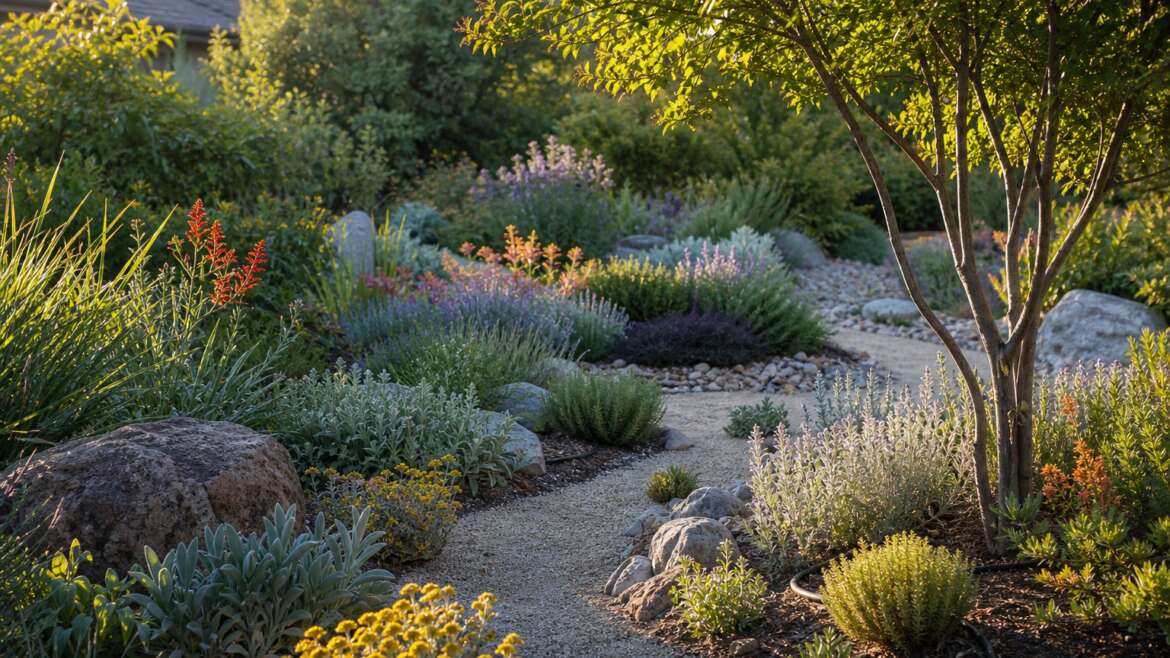
The least interesting xeriscape is a yard that looks punished for needing less water. A good one feels alive: shade overhead, flowers at several heights, grasses moving in wind, seed heads through winter, and enough open ground for each plant to be seen. Water savings come from design discipline, not from removing pleasure.
Xeriscaping is a water-conservation method, not a desert style and certainly not “zero-scaping.” Its familiar principles include planning, efficient irrigation, suitable mulch and soil preparation, appropriate turf and plants, and continuing maintenance.1 Those choices can produce a cottage garden, a modern courtyard, or a wildlife border. Our look at why xeriscaping is not a gravel yard explores that distinction in more detail.
Map water before choosing plants
Walk the site at different times of day. Mark full sun, building shade, wind tunnels, hot walls, slopes, compacted paths, hose access, and places where rain or snowmelt collects. Check soil texture and drainage in more than one spot; construction can leave a pocket of clay beside imported topsoil. Keep existing trees on the map too. A lawn conversion that suddenly removes their regular irrigation can impose drought on roots that still depend on it.2
Turn that survey into hydrozones: groups of plants with similar water needs and similar exposure. A shaded sitting area may justify a moderate-water zone, while a sunny outer bed can hold plants needing much less once established. Give each irrigation zone independent control. EPA guidance also recommends accounting for plant type, sun or shade, and the irrigation method when arranging hydrozones.3 Roof runoff may help a lower planting area, provided grading carries water away from foundations and local rules allow the chosen approach.
Give every planted area a job
Turf is not automatically wasteful, and removing every blade is not automatically wise. A durable patch may earn its water as a play surface, gathering space, erosion cover, or route for a dog. Narrow strips, steep slopes, and awkward corners are harder to irrigate and mow; those are better candidates for groundcovers, permeable paths, or low-water beds.2 Decide what each area must do before deciding what it should look like.
Build the planted zones in layers. A small tree or large shrub can moderate afternoon heat; lower shrubs provide winter structure; grasses add movement; perennials and bulbs extend bloom. Repeat a few forms instead of buying one of everything. Check mature height and width so that a charming nursery pot does not become a path-blocking shrub or cover an emitter two seasons later.
Choose from regional extension or botanic-garden lists, then match each candidate to the actual light, winter cold, summer heat, soil, drainage, and available water. “Native” and “drought-tolerant” are not synonyms: native plants can come from wet or dry habitats, while an adapted non-native may use little water. Colorado State University Extension likewise advises judging the plant in relation to the specific microclimate and irrigation on the site.4
Establishment water is part of the design
A low-water label describes an established plant under suitable conditions. It does not make a fresh transplant drought-proof. Until roots leave the nursery root ball and explore surrounding soil, even xeric plants need attentive irrigation; that establishment period can range from a short season to years, depending on plant size, species, weather, and site.2 Check moisture in the root zone rather than watering by calendar alone, and taper only as growth and rooting justify it.
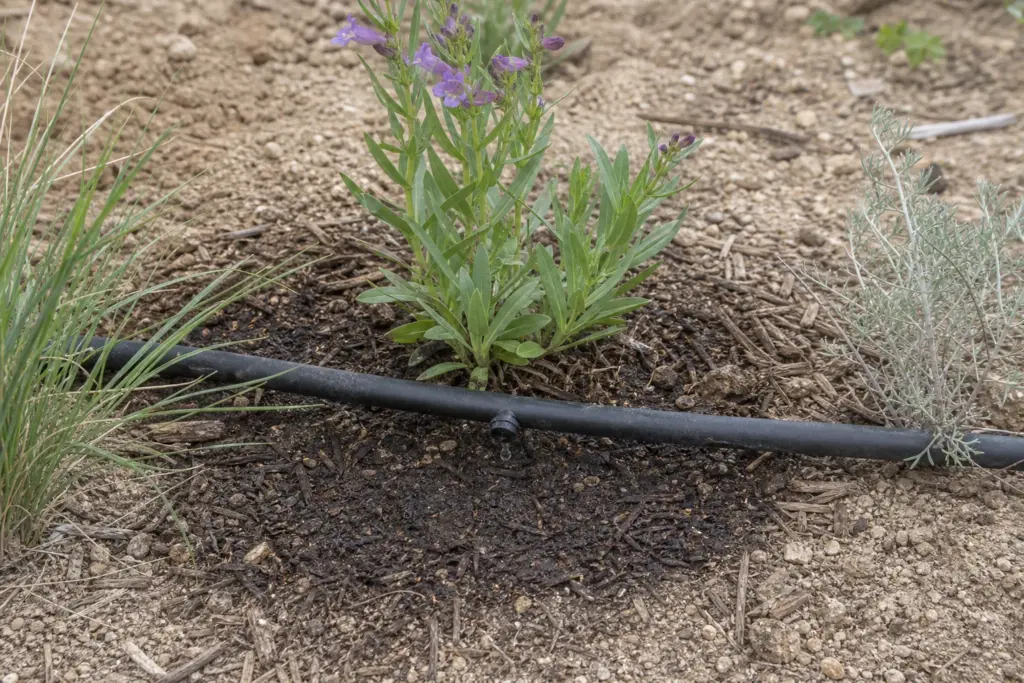
Microirrigation can apply water slowly near roots, but hardware does not replace observation. Run the system, dig a small test hole after watering, and see how far moisture actually spreads. Move or add emitters as woody plants enlarge, clean filters, and look for clogs or leaks. Where clay or a slope causes runoff, shorter “cycle-and-soak” applications may let water infiltrate between runs.3
Choose mulch for the plant, not the fashion
Mulch reduces bare-soil evaporation, limits weed competition, and buffers temperature, but one material does not suit every bed. Arborist wood chips work well around many trees and mesic shrubs. Gravel can keep the crowns of dryland plants better drained, yet sun-heated rock can raise temperatures around less heat-tolerant plants.1 Observe the plant’s native setting and local fire guidance before covering the whole site with either material.
Keep mulch away from stems, trunks, and crowns, and leave soil accessible where you need to test moisture. Permeable mulch should still admit rain and air. Landscape fabric is not a permanent escape from weeds: soil and seed accumulate above it, while roots and irrigation parts become harder to reach.2 Open mineral ground can be intentional around plants adapted to it; bare compacted soil that sheds water is a different condition.
Design the maintenance you can sustain
A xeriscape is not maintenance-free. Young beds need prompt weeding before opportunists seed into every gap. Irrigation schedules must change with weather and establishment, mulch shifts, and plants eventually meet their neighbors. New Mexico State University lists weeding, selective pruning, pest observation, irrigation checks, and seasonal controller adjustments among the ordinary work of a xeriscape.1 The reward is purposeful work, not no work.
Leave access to valves and emitters. Place vigorous spreaders where they can expand without swallowing slower plants. Use stepping stones for inspection, and repeat sturdy species in drifts so that replacing one loss does not unravel the composition. For the years after planting, our guide to xeriscape maintenance as irrigation is reduced follows that changing workload.
Make the first season an observation season
Start with a manageable area and keep brief notes: planting date, rainfall, irrigation duration, soil moisture, bloom, wilting, winter survival, and unexpected runoff. Adjust one variable at a time. A plant failing beside a reflected-heat wall may need a different site, not more frequent water; a plant flopping in enriched soil may need leaner conditions, not a stake.2 Site-specific evidence is more useful than a universal schedule.
The finished garden should reveal where the water goes without making water conservation its only story. Shade can shelter a chair, flowers can feed local insects, a small useful lawn can remain green, and dry-zone plants can hold their shape in heat. When every gallon has a reason and every plant has an appropriate place, a xeriscape feels generous rather than deprived.
References
- New Mexico State University Cooperative Extension: “Landscape Water Conservation: Principles of Xeriscape”
- Colorado State University Extension: “Xeriscaping: Retrofit Your Yard”
- U.S. Environmental Protection Agency WaterSense: “Watering Tips”
- Colorado State University Extension, Pueblo County: “What Should We Choose, Xeric, Water Wise, or Native?”