
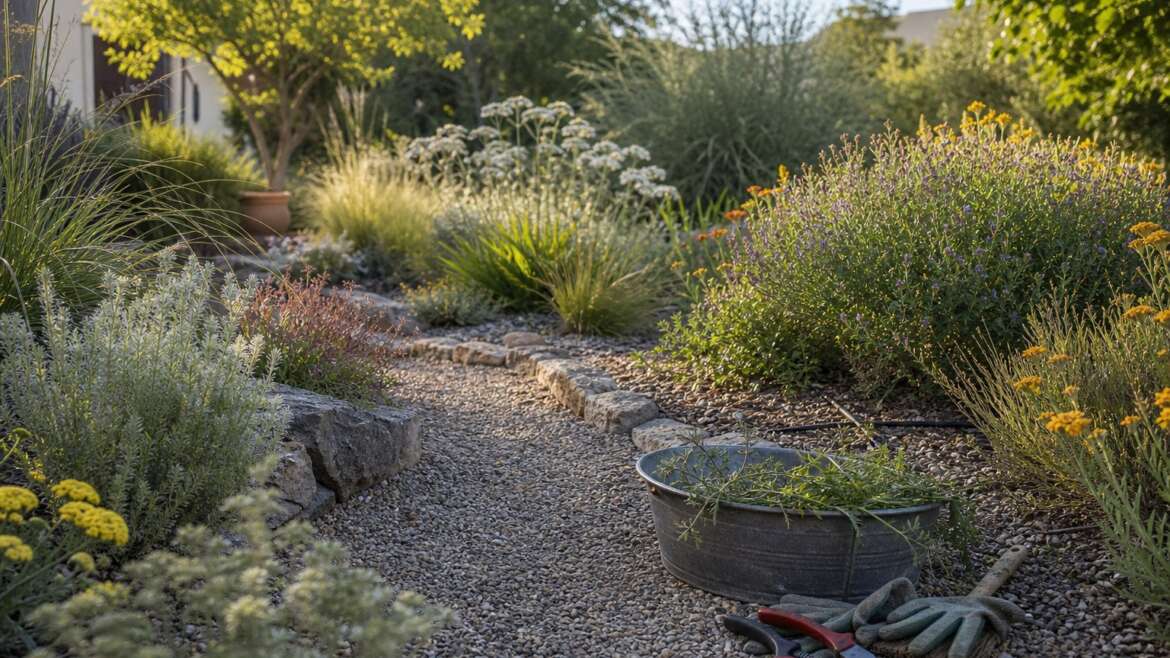
A xeriscape is not finished when the irrigation system is installed. In many ways, that is when the honest part begins. Plants still need establishment water. Mulch still shifts. Drip emitters clog. Weeds still notice open soil. A water-wise garden saves water because it is maintained with attention, not because it has been abandoned to gravel.
Maintenance is one of the seven principles of xeriscaping, alongside planning, efficient irrigation, mulch, soil preparation, appropriate turf, and water-efficient plants. New Mexico State University Extension is explicit that a xeriscape is neither a barren landscape nor a no-maintenance one.1 The useful goal is not to stop caring for the garden; it is to make each intervention answer what the site and plants actually need.
The timer is a hypothesis, not a diagnosis
After turning a controller down, run each zone in daylight and walk it slowly. Watch every outlet. Look for split or pinched tubing, missing emitters, water bubbling from a hidden break, and dry soil beneath a plant that should have been watered. Clean the filter when the system calls for it. A hidden leak wastes water; a clogged emitter kills quietly. EPA WaterSense recommends monthly irrigation inspections, seasonal schedule changes, and checks for leaks, broken or clogged components.3
A wet patch proves only that water arrived at the surface. Push a finger, soil probe, or narrow trowel into the soil away from buried lines after the cycle to learn how far the moisture moved. Clay, sand, slope, compaction, mulch, plant size, and recent weather all change the result. If water pools or runs off on clay or a slope, shorter cycles separated by soak time may work better than one uninterrupted application.3
If a fixed-output emitter seems weak, collect its flow in a measured container for a set time and compare the result with the emitter rating. University of Arizona Extension recommends this simple output check as part of a drip tune-up.4 It separates a controller problem from a clogged outlet, pressure problem, or damaged line before you change the schedule for an entire bed.
Reduce establishment water gradually
New xeriscape plants often fail because gardeners either drown them in apology or starve them in principle. Drought-tolerant does not mean a fresh transplant can live on rainfall immediately. Its roots still occupy the nursery root ball and the nearby planting soil. Colorado State University Extension advises regular establishment irrigation, followed by gradual reduction only after the plant is established; the time required can range from days to years depending on the plant and installation size.2
Taper by observation rather than by an anniversary. Check the root zone before watering, note how long the soil stays moist, and watch new growth and leaf condition through heat and wind. Group plants with similar needs and exposure on the same valve so one thirsty specimen does not dictate the whole garden. If the planting layout itself is the problem, our guide to designing a xeriscape around hydrozones and site conditions explains how to separate those demands.
Expand the wetted root zone as plants grow
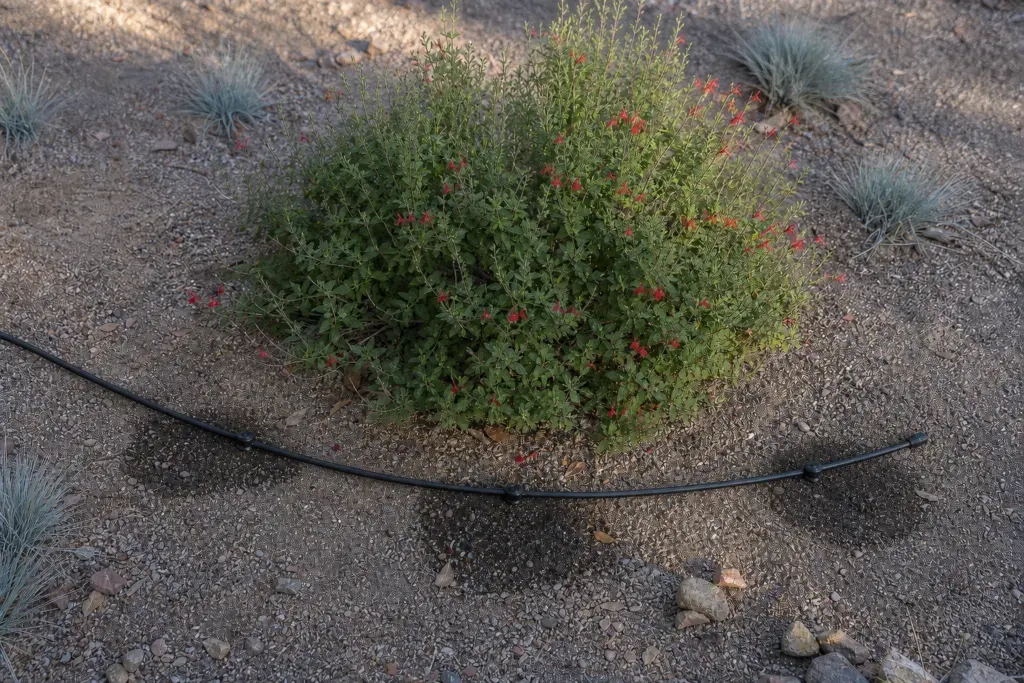
The one or two emitters placed beside a young shrub are not a permanent irrigation plan. As the canopy and root system expand, distribute water over a wider part of the rooted soil instead of keeping one saturated point against the stem. The University of Arizona tune-up guide recommends adding emitters rather than simply moving the originals, because roots developed at the old wet points can be left dry while new roots establish elsewhere.4
Run the zone, map the damp patches, and adjust the number and position of outlets to the plant, soil, and system capacity. Keep emitters accessible for inspection and keep water away from crowns that resent persistent moisture. A mature low-water plant may eventually need much less supplemental irrigation, but the decision belongs to that species in that site—not to the word “xeric” on its nursery label.
Match the mulch to the plant
Mulch reduces evaporation, moderates soil temperature, and limits many weeds, but the material matters. Wood chips retain moisture and can suit plants from cooler or less sharply drained settings. Gravel may suit plants adapted to dry, well-drained ground, yet rock also stores heat and does not make weeds disappear. Both NMSU and CSU recommend choosing mulch for the plants and local conditions rather than treating one material as universally correct.12
Rake displaced mulch back over bare soil, but leave breathing room around trunks and crowns. Replace decomposed organic mulch when it has become too thin to shade the soil. In mineral mulch, remove windblown soil and seedlings before roots knit through the stones. For a fuller look at the design mistake behind sheets of decorative rock, see why xeriscaping is not a gravel yard.
Pull small weeds before they become a project
Weeding is usually quickest after rain or irrigation, when seedlings are visible and the soil releases roots. Remove annual weeds before flowering and seed set. For perennial weeds, identify the plant and remove the relevant underground parts rather than repeatedly snapping off the top. Disturb the soil as little as practical; deep cultivation can bring buried seed upward and can spread some creeping perennials.5
UC Statewide Integrated Pest Management recommends combining competitive planting, mulch, and early hand removal; it also notes that gravel can be difficult to keep weed-free.5 That is a more durable approach than waiting for every gap to turn green and then reaching automatically for herbicide. If a pesticide is genuinely needed, identify the weed, follow the label, and protect nearby desirable plants.
Prune for structure, not tidiness alone
Drought-tolerant plants often have strong architecture. Do not shear them into anxious mounds. Start with dead, damaged, rubbing, or obstructive growth, then use cuts appropriate to the species and season. A sage, bunchgrass, flowering shrub, and small tree do not benefit from the same calendar or technique. If you cannot identify the plant, postpone cosmetic pruning until you can. Colorado State University Extension recommends branch-by-branch shaping for a more natural shrub form and shows why flowering time affects pruning time.6
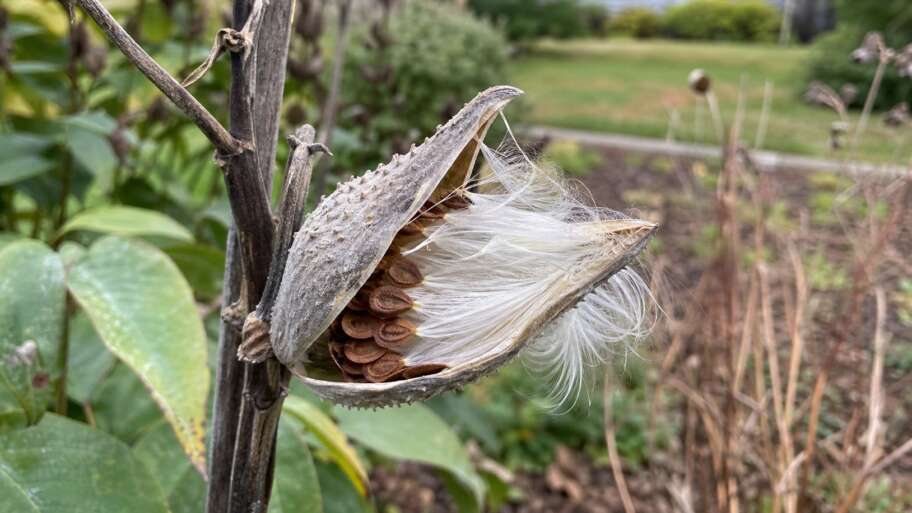
Seed heads can stay where they add winter structure or food and do not create a local fire, access, or sanitation problem. Remove storm-broken stems and growth blocking paths, valves, or sightlines promptly. The point is not to make every plant look newly purchased; it is to keep the garden safe, legible, and able to express the form for which each plant was chosen.
Treat a struggling plant as evidence
Before adding fertilizer or water, inspect. Is the emitter working? Is the root ball wet while the surrounding soil is dry, or the reverse? Has mulch buried the crown? Does reflected heat, winter wet, shade, salt, browsing, or a neighboring plant explain the pattern? One failing plant suggests a local problem; a line of failing plants may point to an irrigation fault or shared site condition.
If replacement is necessary, choose for mature size, hardiness, light, drainage, and the water zone that actually exists. Native and drought-tolerant are not interchangeable: a local streamside native may need more moisture than an adapted plant from another dry region. Conversely, a drought-adapted species can fail in cold, humid, compacted, or poorly drained ground. Colorado State University Extension notes that native plants span a wide range of water needs and that xeric or water-wise plants are not necessarily native.7 Site fit is more informative than a broad label.
Make one short maintenance route repeatable
Walk the same route often enough to notice change. During active growth, scan emitters, new transplants, weeds, mulch gaps, leaning stakes, broken branches, and blocked access. Give the irrigation system its deliberate monthly inspection, and add checks after hard freezes, heat waves, storms, or work that may have disturbed tubing. Adjust schedules with season and weather rather than letting last July’s runtime become permanent.3
A small record makes those observations useful. Note the date, rainfall or unusual heat, controller changes, repairs, new plants, and places that stayed too wet or too dry. The next adjustment can then answer evidence instead of memory. A mature xeriscape should become easier with time, but it never becomes automatic. Its beauty comes from water discipline plus botanical generosity: fewer gallons, better roots, covered soil, and plants allowed to look like themselves.
References
- New Mexico State University Extension: “Landscape Water Conservation: Principles of Xeriscape”
- Colorado State University Extension: “Xeriscaping: Retrofit Your Yard”
- U.S. Environmental Protection Agency WaterSense: “Watering Tips”
- University of Arizona Cooperative Extension: “Drip Irrigation Tune-up”
- University of California Statewide IPM Program: “Weed Management in Landscapes”
- Colorado State University Extension: “Pruning Flowering Shrubs”
- Colorado State University Extension: “What Should We Choose, Xeric, Water Wise, or Native?”