
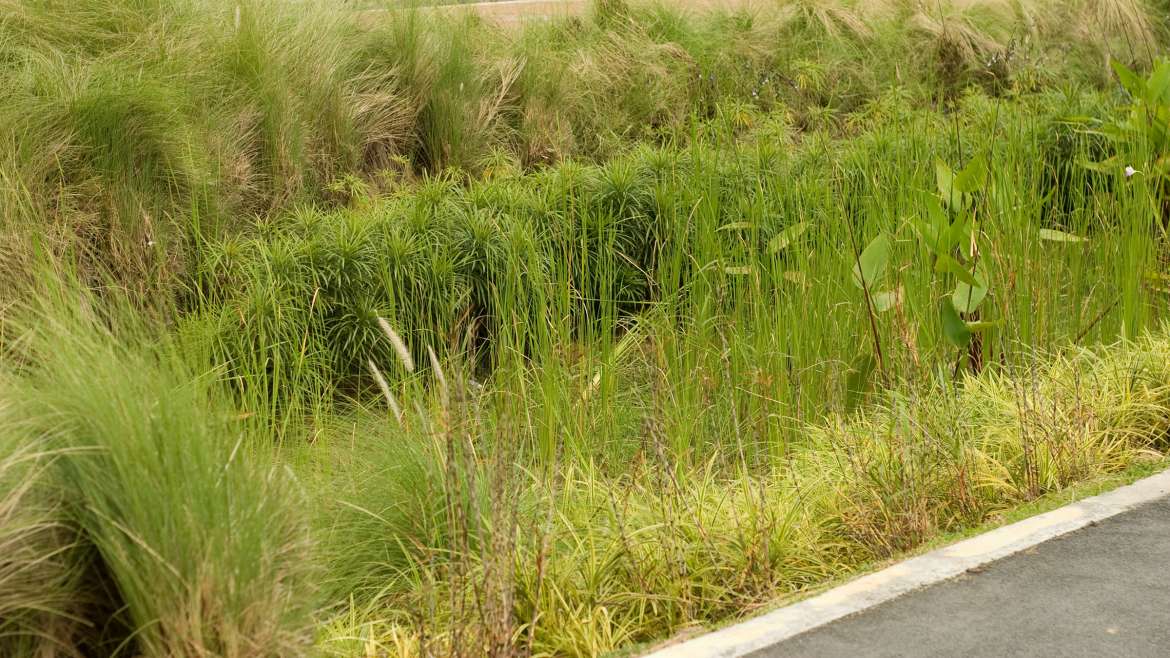
Planting a rain garden is not just choosing flowers that tolerate wet feet. A rain garden has zones. The center may hold water briefly after storms. The side slopes may be moist only for a few hours. The upper rim can dry like an ordinary border. A good planting plan reads those zones before it reads the plant catalog.
The U.S. Environmental Protection Agency defines a rain garden as a planted depression that receives runoff from a roof, driveway, or street and lets it soak into the ground.1 That means the planting serves two masters: beauty above ground and water movement below. Neither job can be added as an afterthought.
Follow the water before choosing plants
Watch the proposed site during more than one storm. Mark the roof plane, paving, compacted lawn, or uphill ground that supplies the runoff; note where the flow concentrates and where it goes after crossing the site. The contributing area, soil, slope, and local rainfall determine how much water the garden must accept. A small bed cannot be assumed to absorb an arbitrarily large roof.
Do not begin with the lowest wet patch in the yard. Persistent ponding can signal slow infiltration, a high seasonal water table, or another drainage problem. Keep infiltration away from foundations, wells, septic systems, unstable slopes, buried services, and valuable tree roots according to local rules. University of Maine Cooperative Extension likewise advises avoiding naturally wet ground and locating underground utilities before digging.2
Use a local rain-garden method to measure infiltration and size the basin; setbacks and acceptable drain-down times vary by soil, climate, and jurisdiction. A University of Maryland Extension guide, for example, asks builders to inspect for standing water at 24 and 48 hours rather than treat the basin as a permanent pool.3 If the site needs amended media, an underdrain, or major grading, get appropriate local design help. Our guide to building a rain garden that receives roof runoff covers those construction decisions in more detail.
Give runoff a calm entrance and an obvious exit
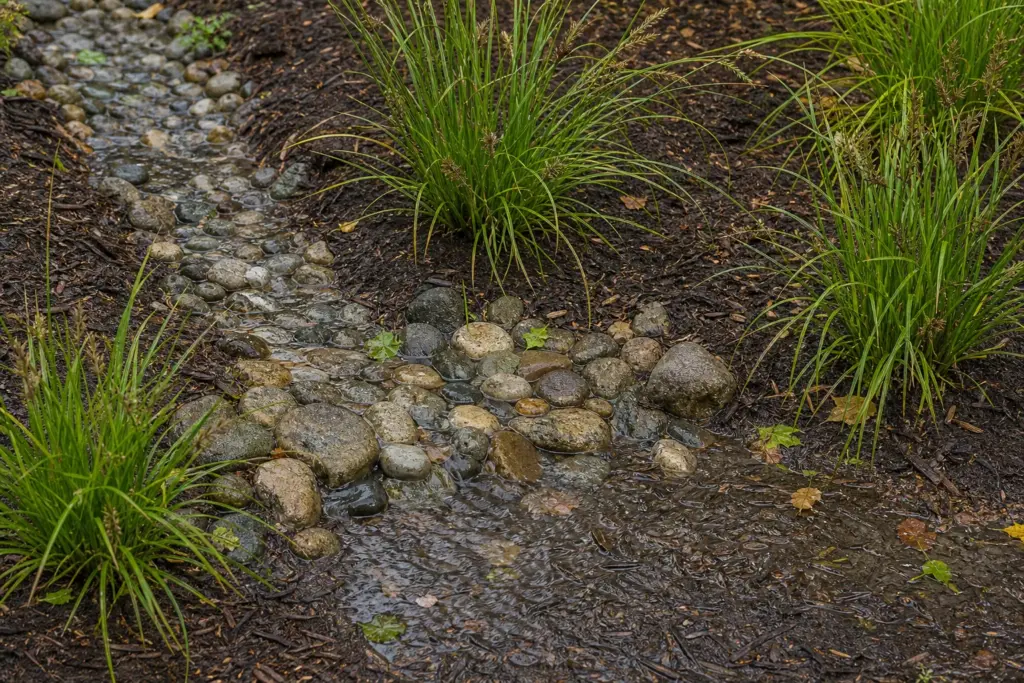
Concentrated water can cut through loose soil and carry mulch into the basin. Bring it in through a stable, shallow route. A small apron of firmly set stone, erosion-resistant vegetation, or another locally suitable treatment can spread the flow. The inlet should be visible enough to inspect and clear; hiding it beneath a crowded plant may conceal erosion until a storm enlarges it.
Shape the bottom level enough for water to spread instead of collecting at one unintended end. On the downhill side, a sound berm holds the intended shallow ponding depth.2 Give excess water a defined overflow route that leads away from buildings, paths, neighbouring property, and vulnerable slopes. The garden should slow a storm, not merely move the problem to a new address.
After construction, watch the first storms at the inlet. University of Maine Cooperative Extension recommends checking where water ponds, whether moisture-loving plants actually receive it, and whether the entrance is eroding; strategically placed stones can reduce the force of concentrated flow.2 A neat drawing is useful, but moving water is the final test.
Plant the wet center, slopes, and rim as different habitats
The lowest zone needs plants that tolerate short inundation and the drier interval between storms. That is not the same as choosing permanent pond plants. The side slopes need species able to bridge moist and ordinary conditions, while the rim often behaves like a conventional, sometimes dry border. In a small basin these transitions may occur within a few steps.
Choose from a regional rain-garden list, then check each candidate against the actual light, soil texture, pH, hardiness, mature width, and moisture zone. University of Maine Extension recommends considering sunlight, soil, hardiness, moisture, height, width, and nativity, then placing water-loving plants low and drier-tolerant plants at the edge.2 A plant described as “moisture tolerant” still has limits.
Local sedges, rushes, moisture-tolerant flowering perennials, grasses, and shrubs can all contribute, but no species list travels intact between regions. Blue flag iris, swamp milkweed, and cardinal flower, for example, belong only where the particular species is locally appropriate and the basin matches its needs. Check invasive-plant rules as well as nativity; “wild-looking” is not an ecological credential.
Build a season, not a shopping cart
Plan height, texture, and bloom across the whole year. Repeat compatible species in small groups rather than buying one of everything, and include early-, middle-, and late-season flowers. University of Maryland Extension recommends clustered planting and a rain garden that blooms from spring through fall, practical advice for making the design legible to people and useful through more of the growing season.3
Regionally native plants can connect the basin to local food webs, but nativity does not override site fit. Include larval host plants where suitable, retain some seed heads, and avoid routine insecticide use in a garden meant to feed insects. The goal is habitat with structure and continuity, not a promise that every colourful cultivar provides equal nectar, pollen, or shelter.
Leave room for the third growing season
Lay out plants by mature spread, not by the empty-looking gaps between new plugs. Dense enough planting can eventually shade soil and resist weeds, but crowding plants on installation day increases competition and hides the basin’s contours. Keep the inlet, overflow, and inspection route reachable. Place taller species where they will not bury a path or smother a lower neighbour.
Use a mulch that will stay in place under the expected flow, and keep it away from plant crowns. Floating bark at the inlet is not doing useful work. Until roots and foliage cover more soil, restore scoured areas and remove weeds before seed set. Plant labels or a simple map help distinguish a slow-emerging perennial from an opportunist during the first spring.
Establishment is the wettest maintenance phase
A rain garden catches storms; it does not water new roots on schedule. During establishment, irrigate according to rainfall, weather, soil, and the needs of the planted stock. Weed regularly, replace failures after diagnosing the moisture zone, and inspect the inlet and overflow after hard rain. University of Maine Extension notes that young rain-garden plants may need supplemental water through their first dry season.2
Once the planting is established, maintenance can become lighter, not absent. Remove debris that blocks flow, repair erosion, divide or edit aggressive plants, and leave safe stems and seed heads where they provide winter structure and food. Our argument for a less spotless fall garden explains why selective cleanup can serve wildlife better than cutting every perennial to the ground.
Let the first storms edit the plan
During several storms, record where water enters, its maximum spread, how long the basin takes to empty, and where sediment or mulch accumulates. Photograph the same view after an hour and again the next day. Those observations reveal a high spot, blocked inlet, weak overflow, or misplaced moisture-loving plant more clearly than memory does.
Persistent standing water, repeated overflow toward structures, expanding erosion, sewage odour, or a soggy slope is not a planting problem to conceal with more flowers. Stop directing runoff there and seek local drainage advice. A rain garden should look like a garden and behave like infrastructure. When both jobs are respected, it makes rain visible, useful, and much less hurried.