
A rain garden proves itself after rain, not on planting day. The first storm shows where water really enters, where mulch floats, where sediment collects, and whether the basin drains in a reasonable time. That is not failure. It is the garden handing you its first maintenance list.
The US Environmental Protection Agency describes a rain garden as a shallow, planted depression that collects runoff from a roof, driveway, or street and lets the water soak into the ground.1 The words shallow and soak are doing important work. A rain garden is not meant to be a permanent pond or an indefinitely soggy hole. It briefly holds water while soil and roots slow its movement.
Maintenance can correct ordinary wear, but it cannot make an unsafe location safe. Water should not be directed toward a foundation, septic field, unstable slope, or another property. If the route or basin was poorly sited, revisit the design principles in this guide to building a rain garden that receives roof runoff before treating repeated trouble as a weeding or mulching problem.
Read the storm from inlet to overflow
During a moderate rain, watch from a safe, firm surface. After the rain ends, walk the path water walked: downspout or swale, inlet, basin, overflow, then the ground beyond it. A phone photograph from the same two or three positions after each large storm makes slow changes visible. Note the time the rain stopped, how far water spread, and where it left a line of leaves, silt, or flattened mulch.
At the inlet, water should enter without cutting a channel through the soil. Look for an undercut pipe, exposed roots, displaced stones, bare patches, or a fan of sediment. At the basin, check whether water reached the planted low area instead of bypassing it along the rim. Penn State Extension recommends inspecting inlets, outlets, mulch, soil, and plants after major storms, especially while a rain garden is becoming established.2
The overflow is a safety feature, not evidence that the garden failed. Once the design storm is exceeded, excess water needs a stable route away from buildings, paths, and neighboring land. Clear leaves or lodged branches without lowering the berm or improvising a new outlet. Fresh erosion beyond the overflow, repeated bypassing, or water approaching a structure calls for design advice rather than a deeper hole dug on impulse.
Time the drain-down, then diagnose the cause
Record when rainfall ends and check the same low point later that day and the next morning. Penn State says a residential rain garden should usually drain in about 12 to 24 hours and should not remain ponded beyond 48 hours.2 Local approved designs may use different targets, so compare the result with the plans and guidance for your site. The useful question is not whether the soil looks damp; it is whether free water lingers longer than the system was designed to hold it.
Start with causes visible at the surface. A mat of leaves can cover an inlet, fine sediment can seal the top layer, and mulch can pile into a small dam. Remove loose debris and sediment by hand, then observe the next storm. Repeated sediment is a clue to repair an upstream source—bare soil, an eroding downspout outlet, or a channel—rather than a reason to keep shovelling material out of the basin forever.
If ponding persists after the surface and outlet are clear, stop before tilling, adding gravel, or changing the overflow elevation. Compacted or clogged soil, a damaged underdrain, groundwater, or an error in basin depth can look similar from above but require different remedies. EPA maintenance guidance calls for repairing erosion, clogs, and structural damage and avoiding soil compaction.3 An installer, landscape professional familiar with stormwater systems, or local stormwater office can diagnose a recurring hydraulic problem without sacrificing a safe overflow.
Keep sediment and mulch where they belong
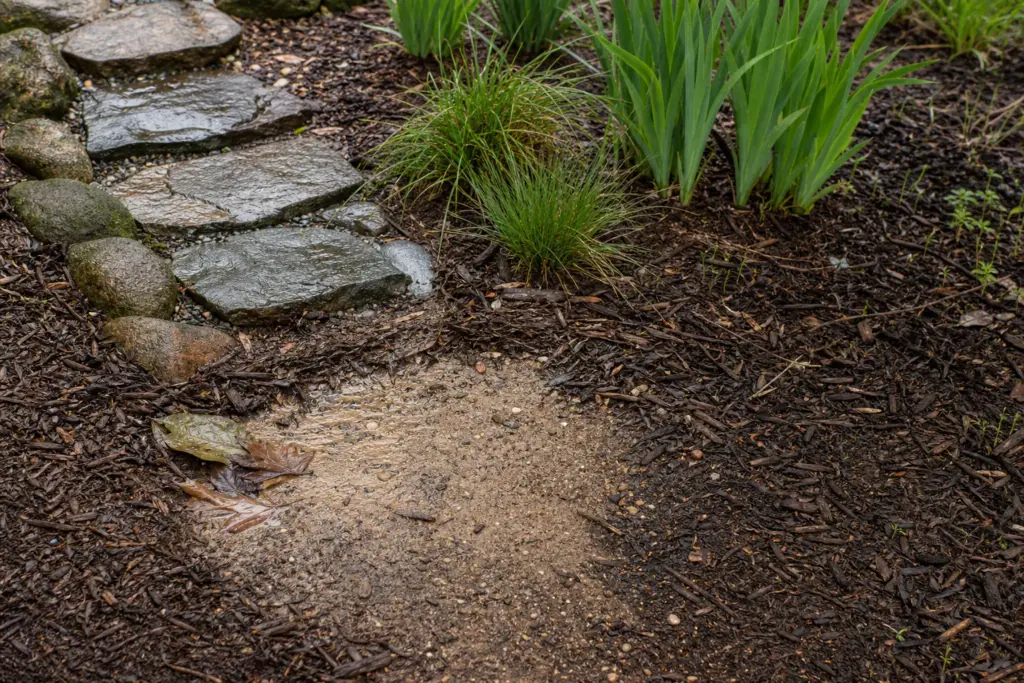
A small patch of silt at a deliberate forebay or stone inlet is easy to lift out. Sediment spread across the whole basin is more serious: it can bury plant crowns and gradually reduce infiltration. Scoop it while it is still localized, protect any bare ground feeding it, and reset only stones that were part of the original flow-spreading detail. Do not build a decorative rock barrier that diverts water around the garden.
Mulch should cover exposed soil, not bury stems or fill the basin year after year. University of Delaware Extension recommends at least two inches after planting and favors shredded hardwood because lightweight bark can float away.4 On an established garden, measure what remains before adding more. Rake displaced mulch back into a modest, even layer, keep it away from plant crowns, and leave the inlet and overflow visibly open.
Autumn leaves need judgment rather than a spotless-basin rule. A thin scattering among upright plants can decompose in place, but a wet mat across the inlet or outlet can redirect flow. Remove whatever blocks water or smothers small plants. Put collected leaves in a compost pile or an ordinary garden bed where they cannot wash straight back at the next downpour.
Maintain plants by moisture zone
The first two growing seasons usually need the closest attention. Water deeply during dry establishment weather, pull weeds before they seed, and replace losses once you understand why they failed. A dead plant at the inlet may have been battered by concentrated flow; one in the basin floor may have been unable to tolerate alternating inundation and drought. Replanting the same species in the same place without that diagnosis repeats the experiment.
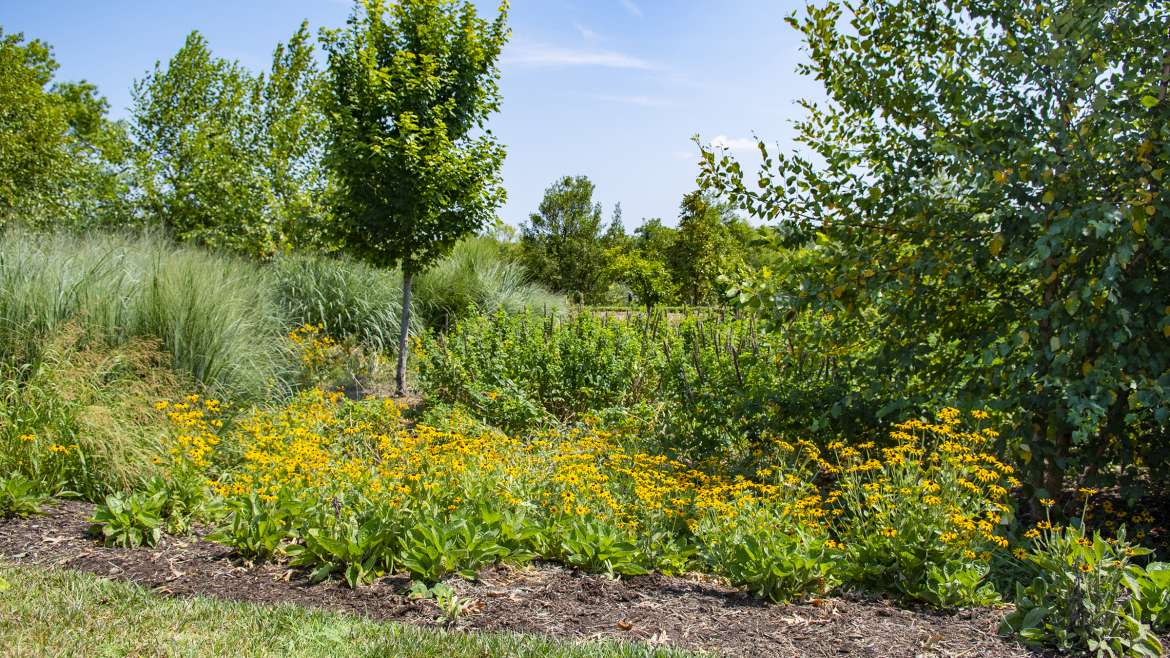
A rain garden contains several habitats over a short distance. Oregon State University Extension describes three useful planting zones—top (dry), slope (moderate), and base (wet)—and recommends plants suited to the conditions in each position.5 The labels are shorthand: the low zone needs plants suited to periodic wetness as well as dry intervals, while the side slopes and rim may drain quickly. The companion guide to planting a rain garden for drainage, flowers, and wildlife explains how to work with those zones. Native origin alone does not tell you where a plant belongs: local provenance, mature size, light, soil, and moisture tolerance still matter.
A mature rain garden should need less fuss, not none. Thin plants that crowd the inlet, shade out slower neighbors, or erase the intended flow path. Cut broken or diseased growth promptly. Where stems do not obstruct water, leave some standing through winter, then cut them back before vigorous spring growth, as Penn State recommends for seasonal care.2 Avoid mowing the basin into a uniform bowl; varied roots and stems are part of the working system.
Use a small seasonal routine
In spring, clear the inlet and overflow, look for frost-heaved stones or exposed soil, and identify weeds while they are small. Through the growing season, water new plants during dry spells and check after unusually heavy rain. In autumn, remove obstructive debris and mark vulnerable young plants before their tops disappear. In winter, inspect only when footing is safe; snowmelt can reveal a blocked path as clearly as summer rain.
Keep a short record of drain-down times, sediment removal, plant losses, and repairs. One exceptional storm can overwhelm a sound garden. The same channel, prolonged ponding, or washed-out patch appearing after ordinary storms is a pattern. A dated photograph and a few measurements give a contractor or municipal adviser far more to work with than “it stays wet sometimes.”
The quiet success of a rain garden is that it turns runoff into a sequence: roof, swale, basin, roots, soil, overflow. Maintenance keeps that sequence readable. After each hard rain, walk the path water walked. Remove what blocks it, repair what concentrates it, and let the garden do the patient work of slowing water, then letting it go.
References
- US Environmental Protection Agency: Soak Up the Rain—Rain Gardens
- Penn State Extension: Best Practices for Rain Gardens
- US Environmental Protection Agency: Green Infrastructure Installation, Operation, and Maintenance
- University of Delaware Cooperative Extension: Rain Garden
- Oregon State University Extension Service: Home Rain Gardens Treat Stormwater and Reduce Flooding