
A living mural has a glamorous first week. The pattern is sharp, the foliage is tight, and every small plant seems to know its assigned color. The harder part begins after the photograph, when roots start exploring, leaves grow at different speeds, and one dry pocket can turn a crisp design into a missing tile.
The point is not only to keep the plants alive. It is to keep the picture readable while every plant behaves like a plant rather than a dab of paint. Stems stretch toward light, shaded patches slow down, flowers arrive on their own timetable, and roots compete inside a shallow system. If you are still choosing the palette and layout, start with How to design with plants as pixels; this piece is about what happens once the design has to survive weather, growth, and human forgetfulness.
Mosaiculture and living walls overlap, but they are not quite the same thing. Mosaiculture can be a flat patterned bed or a three-dimensional planted sculpture, while a living wall is usually a vertical system of pockets, trays, felt, or modules. Mosaiculture Internationales describes the art as a blend of sculpture, painting, and horticulture, with living plants as the medium.1 The Royal Horticultural Society notes that living wall systems often use planter boxes or felt, commonly need irrigation, and should be planted with species that share similar light and moisture needs.2 That is the maintenance truth under the spectacle: the art is only as good as the horticulture underneath it.
Build maintenance into the installation
The best planting day is slightly restrained. Set plants close enough that the surface will fill, but not so tight that air disappears and roots are forced into instant competition. In a mural, tiny differences become visible. A fast alternanthera, coleus, creeping thyme, ajuga, or sedum can blur an edge in a few weeks if it is planted beside something slower or thirstier.
Before the first plug goes in, make a maintenance map. Keep a copy of the design with plant names, irrigation zones, and access points. Photograph the wall straight on once it is planted. Label spare trays. If a burgundy band is made from one cultivar and a silver band from another, the replacement plants need to match, not merely look close at the garden center. A mural repaired with almost-right plants soon looks patched.
Use small, well-rooted plants where possible. Plugs establish with less disturbance than large transplants, and they let the design settle into the wall rather than being wedged into it. Keep aggressive plants on edges you can reach easily. Avoid putting drought-loving succulents and thirsty annual foliage in the same shallow pocket line unless the irrigation is divided and you are willing to manage them as different neighborhoods.
Water by zones, not by hope
A living mural does not forgive heroic watering. Vertical gardens are more exposed to sun and moving air than ordinary beds, so they can dry quickly; Oklahoma State University Extension makes the same point for vertical gardening and recommends frequent watering, with drip or micro-irrigation useful in some systems.3 At the same time, gravity and the structure of the wall can make the bottom behave differently from the top. Research on an exterior living wall in a semi-arid climate found that plant type, wall position, substrate, and irrigation regime all affected performance, and that bottom rows collected far more outlet water than upper rows.4
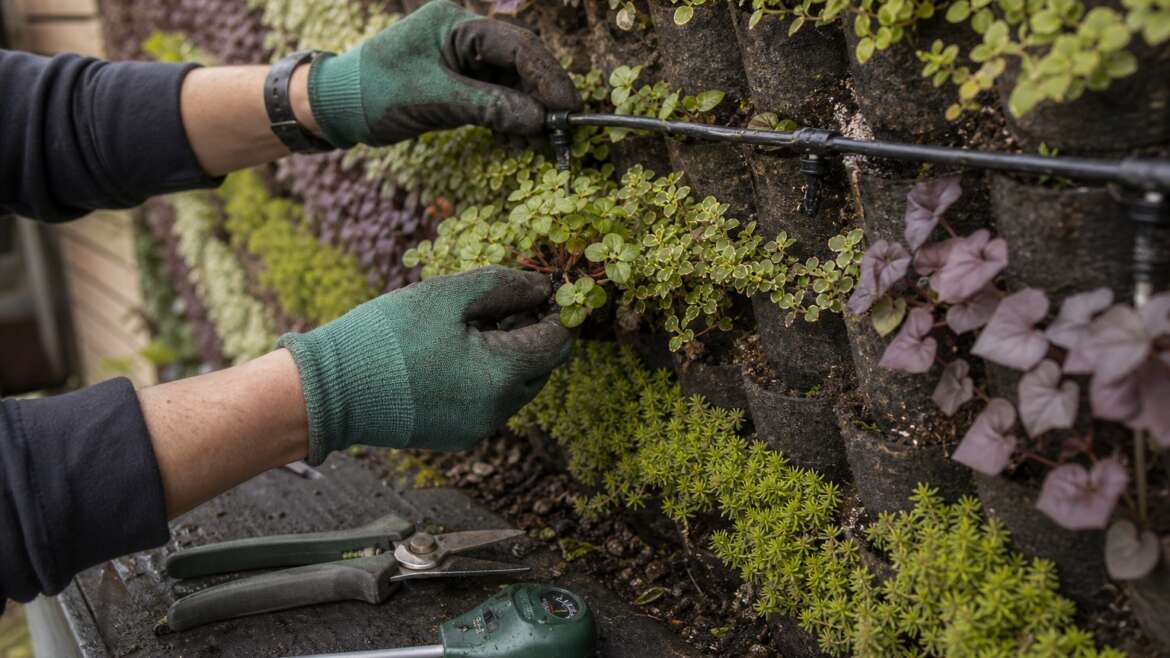
That means the useful question is not, “Did I water it?” It is, “What is happening in the top, middle, bottom, sun side, and shade side?” Check the wall with your fingers, not only with the timer. Look for dry pockets, sour wet pockets, clogged emitters, and leaves that have become small, dull, or crispy at the edges. Drip irrigation is usually more reliable than hand watering, but it still needs inspection because one blocked emitter can erase a whole patch of color.
If a pocket dries so hard that water beads and runs around it, treat it as a rewetting problem rather than a moral failure. The same behavior shows up in containers and tired potting mixes, as described in When soil forgets how to drink. Water gently, pause, water again, and make sure the root ball is actually in contact with the moist medium. A dry plug sitting in a damp wall can still die.
Feed lightly and read the leaves
Fertilizer can help a seasonal display keep its color, but it is not a cure for every weak patch. Pale or slow growth may mean dry roots, cold weather, too much shade, root competition, exhausted media, or a blocked irrigation line. Heavy feeding can push soft, fast growth that needs constant clipping and makes the pattern blur faster.
Use a modest, consistent feeding plan matched to the plants and growing medium. If the mural is built from annual foliage plants, it may need more nutrition than a sedum-heavy wall. If the design relies on herbs or drought-tolerant plants, too much nitrogen can make them lush, weak, and less aromatic. The goal is steady growth, not a race.
Trim like an editor
Pruning a living mural is not about making everything smaller in a general way. It is about keeping the sentence readable. Clip plants that cross design lines, pinch soft stems before they flower if foliage is the point, and remove dead material before it traps moisture and invites rot.
The University of Florida’s landscape design guidance treats form, texture, size, and color as major visual tools.5 In a mural, those tools are also maintenance signals. A rougher texture may suddenly dominate a fine one. A chartreuse block may turn yellow because it is hungry, dry, or sun-stressed. A burgundy line may vanish because the green plant beside it is simply faster. Respond while the repair is still a handful of stems, not a whole panel.
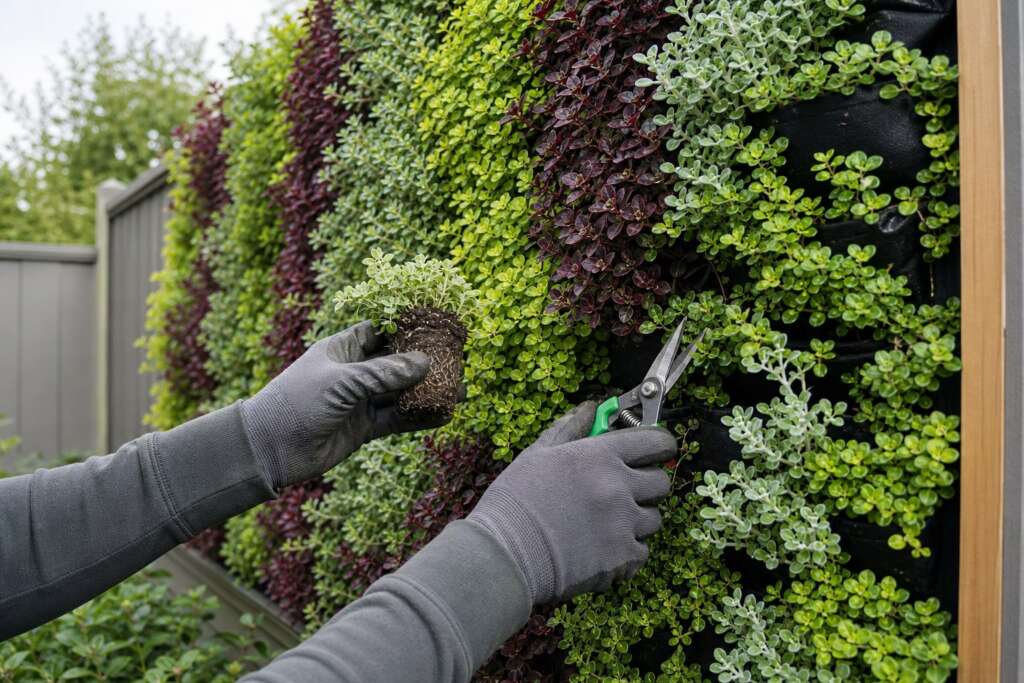
Work with clean, sharp snips and take less than you think you need. Step back often. From close range you see individual stems; from a few paces away you see whether the curve still curves and the stripe still reads as a stripe. That distance check is the difference between horticulture and haircutting.
Keep spare plants and a repair rhythm
The practical trick is to grow a small tray of replacement plants in the same palette. Label them. Keep them watered. Harden them off if the mural is outdoors. When a pocket fails, replace it before the gap becomes the focal point. If one cultivar repeatedly fails in the same position, do not keep proving the point; swap that section for a plant with the same visual role and better tolerance for the actual conditions.
A simple rhythm works better than occasional rescue missions. For the first two weeks, check water and wilting daily. For the first two months, trim lightly every week or two while the pattern is still easy to steer. After storms, heat waves, irrigation repairs, or vacations, inspect the wall as if you have never seen it before. Living murals fail in small ways before they fail in obvious ones.
The most successful living mural is not the one that never changes. It is the one whose gardener keeps noticing. The design is planted once, but it is edited all season.
References
- Mosaiculture Internationales de Montreal: Organization
- Royal Horticultural Society: Green walls
- Oklahoma State University Extension: Vertical gardening makes most of limited ground
- Environments: The Influence of Plant Type, Substrate and Irrigation Regime on Living Wall Performance in a Semi-Arid Climate
- University of Florida IFAS: Landscape Design, Ten Important Things to Consider